July 31, 2026
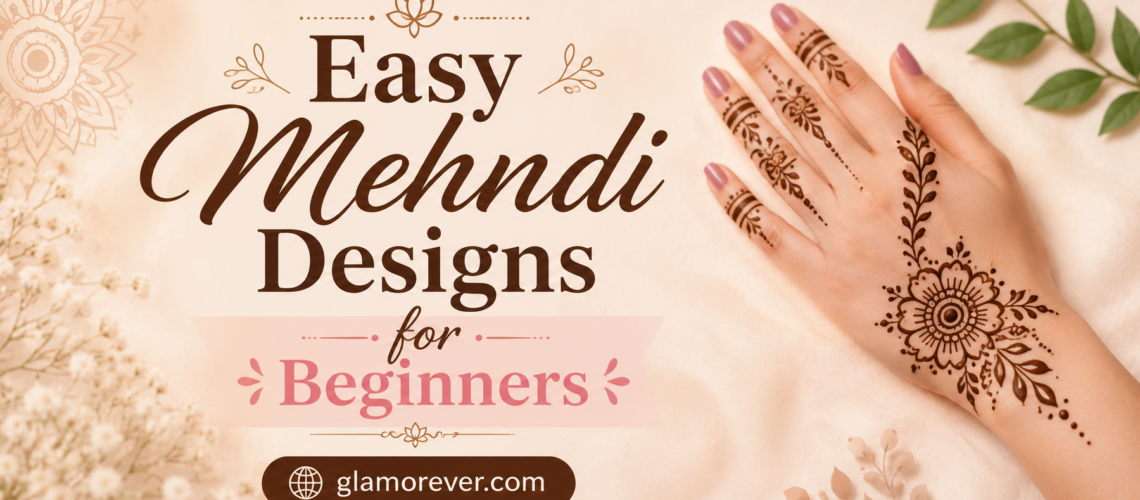
25 Easy Mehndi Designs for Beginners – Simple, Beautiful & Trending Patterns
No parlour, no problem — gorgeous henna art you can create with your own two hands 🌿✨
Every Indian festival season comes with the same sweet chaos — last-minute outfit planning, matching bangles, and of course, the all-important mehndi cone. Whether it’s Teej, Raksha Bandhan, Karva Chauth, or your cousin’s mehndi function, there’s something deeply comforting about the smell of fresh henna and the ritual of sitting down to decorate your hands.
But here’s the thing — not everyone has the time, budget, or patience to book a professional mehndi artist for every occasion. And honestly, you don’t need to! With a little practice, some patience, and the right beginner-friendly patterns, you can create stunning designs right at home.
In this guide, we’ve rounded up 25 easy mehndi designs perfect for beginners, along with application tips, aftercare tricks for a deep stain, and answers to the questions we get asked the most. Let’s get those henna cones ready!
Mehndi Basics for Beginners
Before jumping into designs, it helps to understand a few basics. Mehndi, or henna, is a natural paste made from the dried leaves of the henna plant, mixed with essential oils and a liquid like lemon water or tea water to enhance the stain. Once applied and left to dry, it leaves behind a reddish-brown pattern on the skin that can last anywhere from one to three weeks.
Naturally, the trick to a good beginner design isn’t complexity — it’s consistency. Even the simplest dots-and-lines pattern looks elegant when applied with a steady hand. So, rather than attempting an elaborate bridal-style design on your first try, start small and build your confidence gradually.
“A mehndi design doesn’t need to be complicated to be beautiful — sometimes, the simplest patterns leave the deepest impression.” 🍃
🌸 Simple Finger Designs
Finger designs are the perfect starting point for beginners since they cover a small area and are quick to practice.
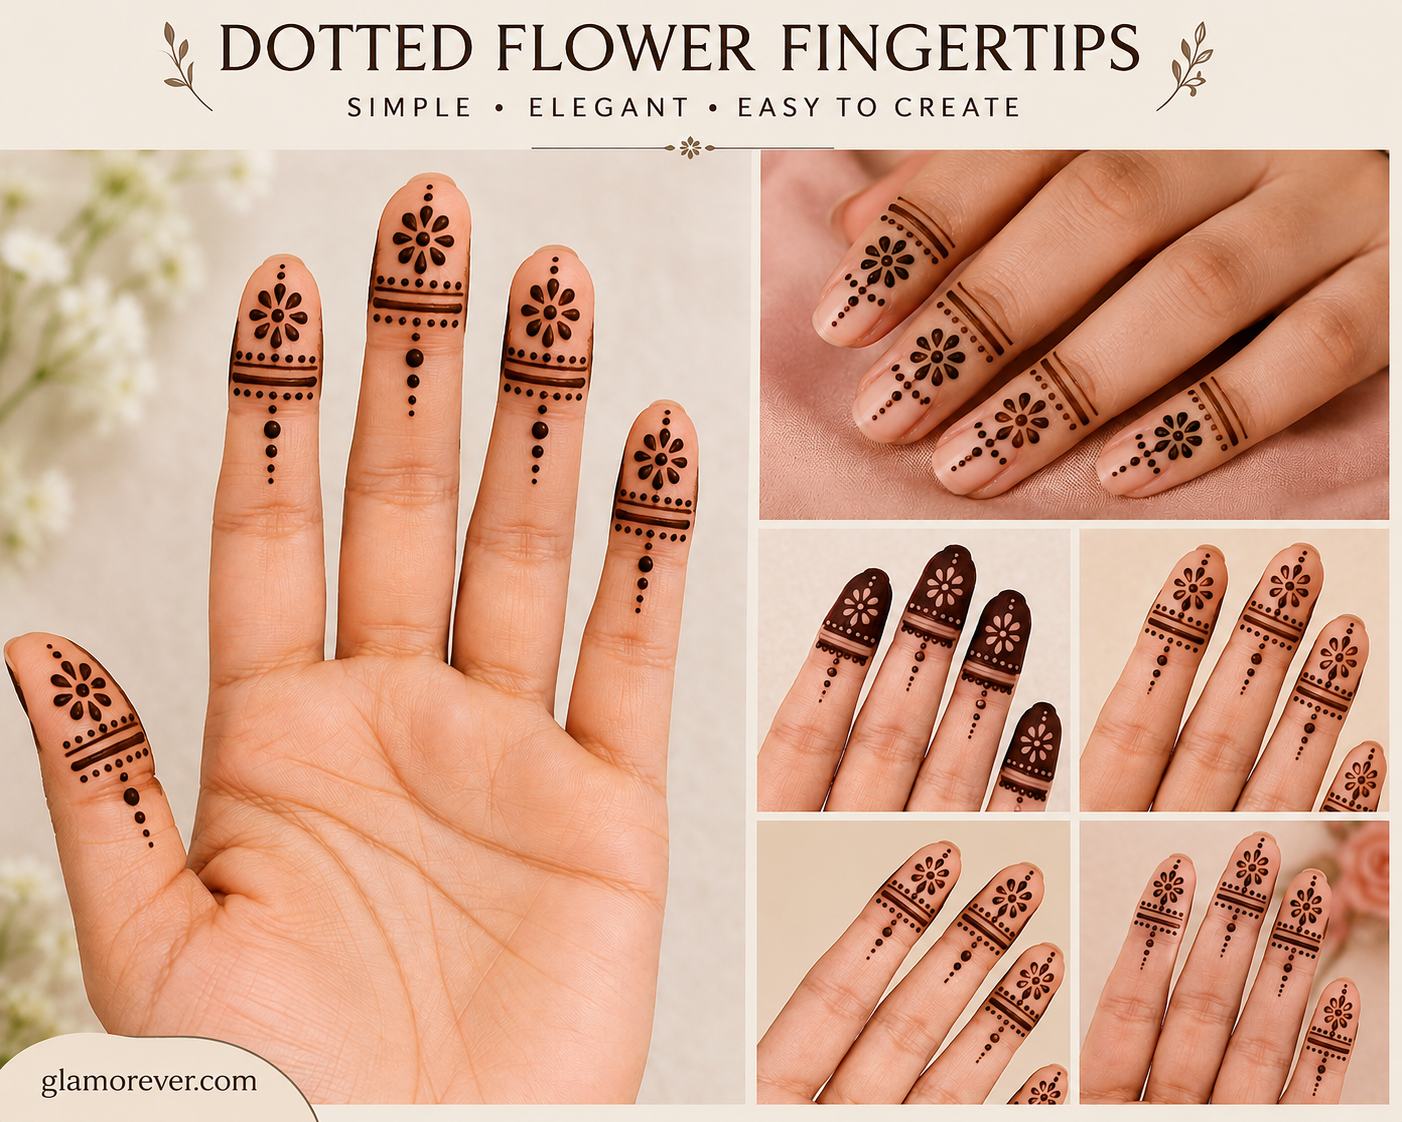
1. 🌼 Dotted Flower Fingertips
Simple dot flowers on each fingertip — easy to master and instantly cute.
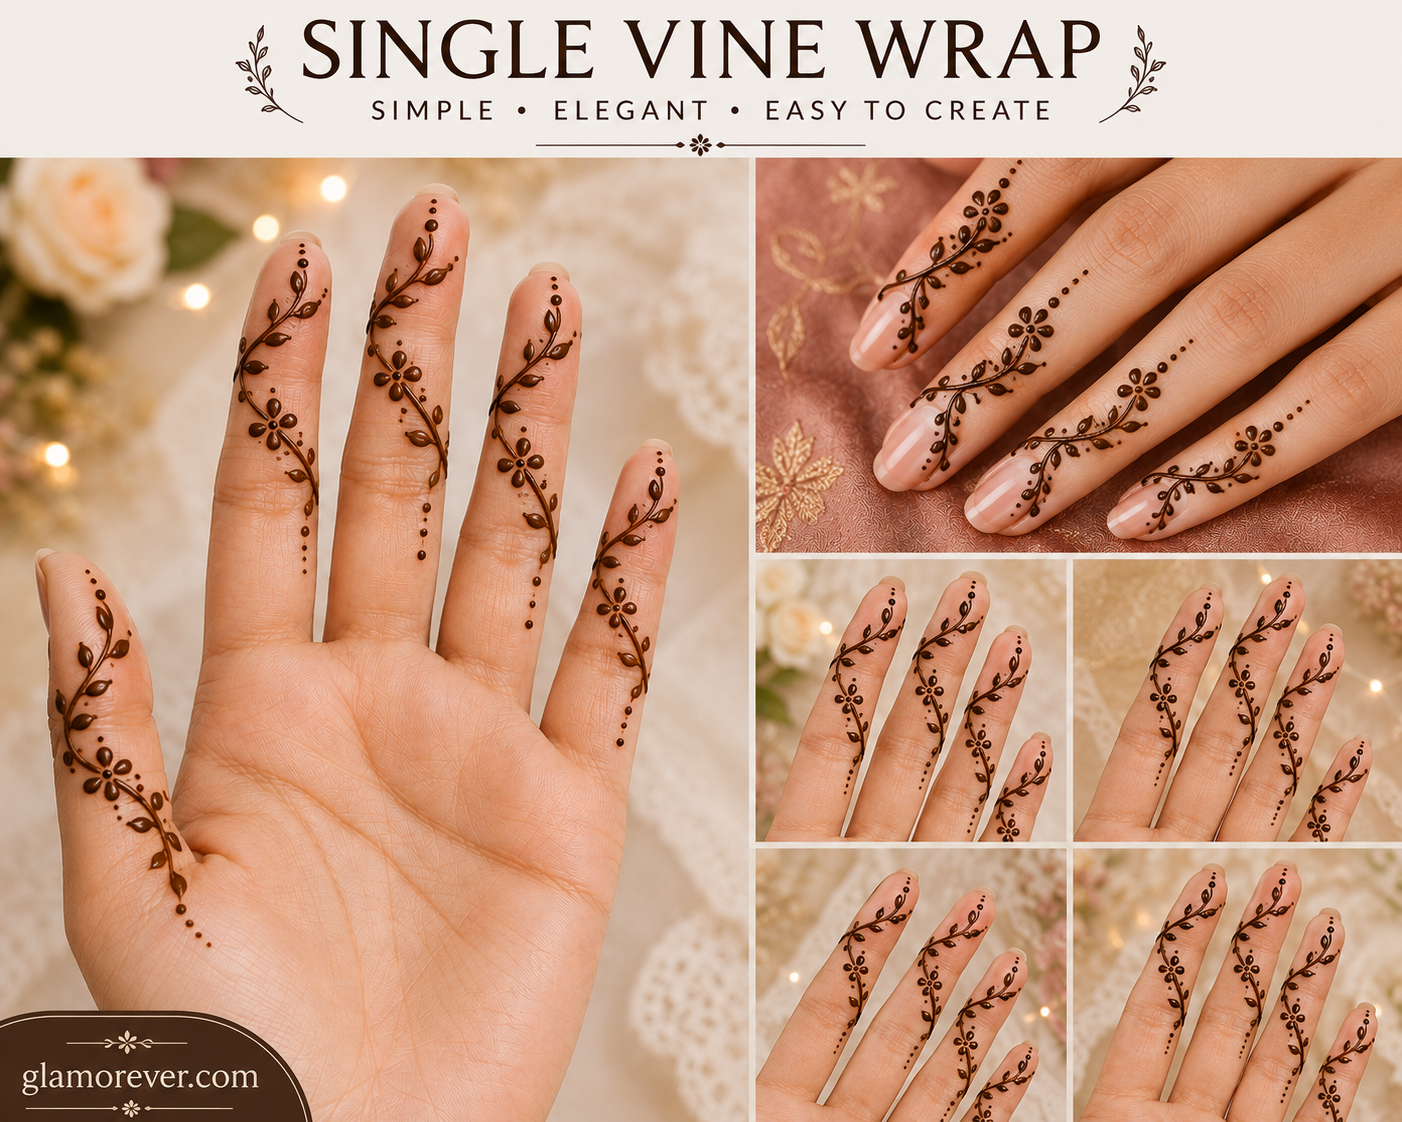
2. Single Vine Wrap
A thin vine wrapping around one finger, finished with a small leaf at the tip.
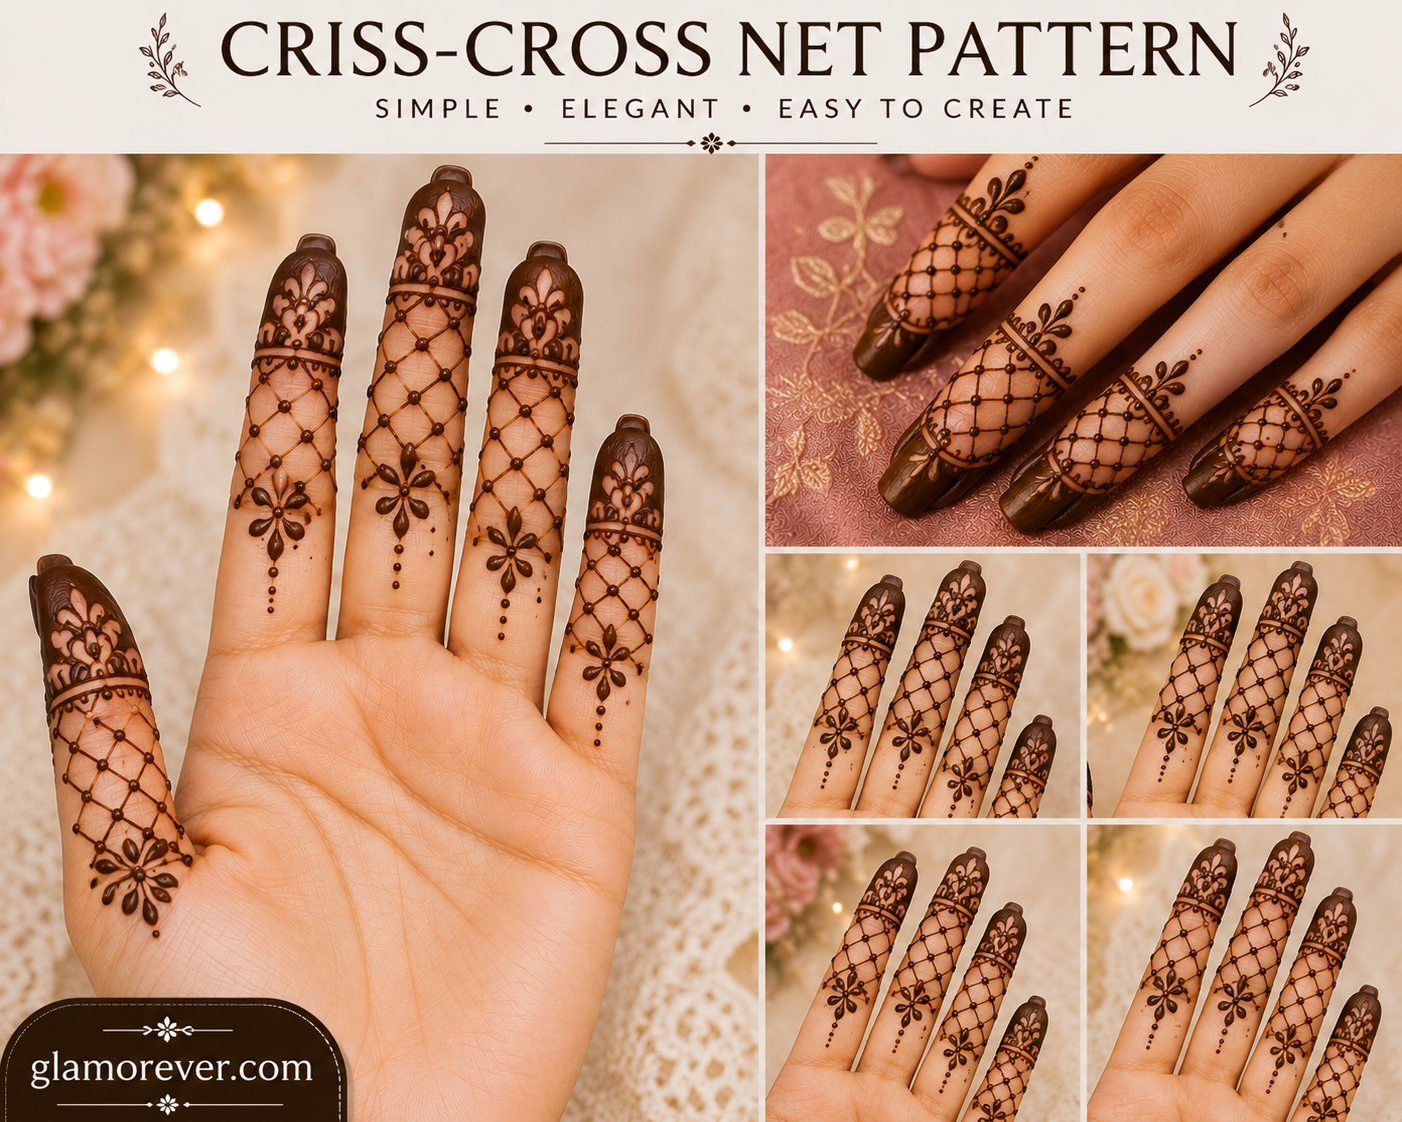
3. Criss-Cross Net Pattern
A crisscross net design across the finger, filled in with tiny dots for texture.
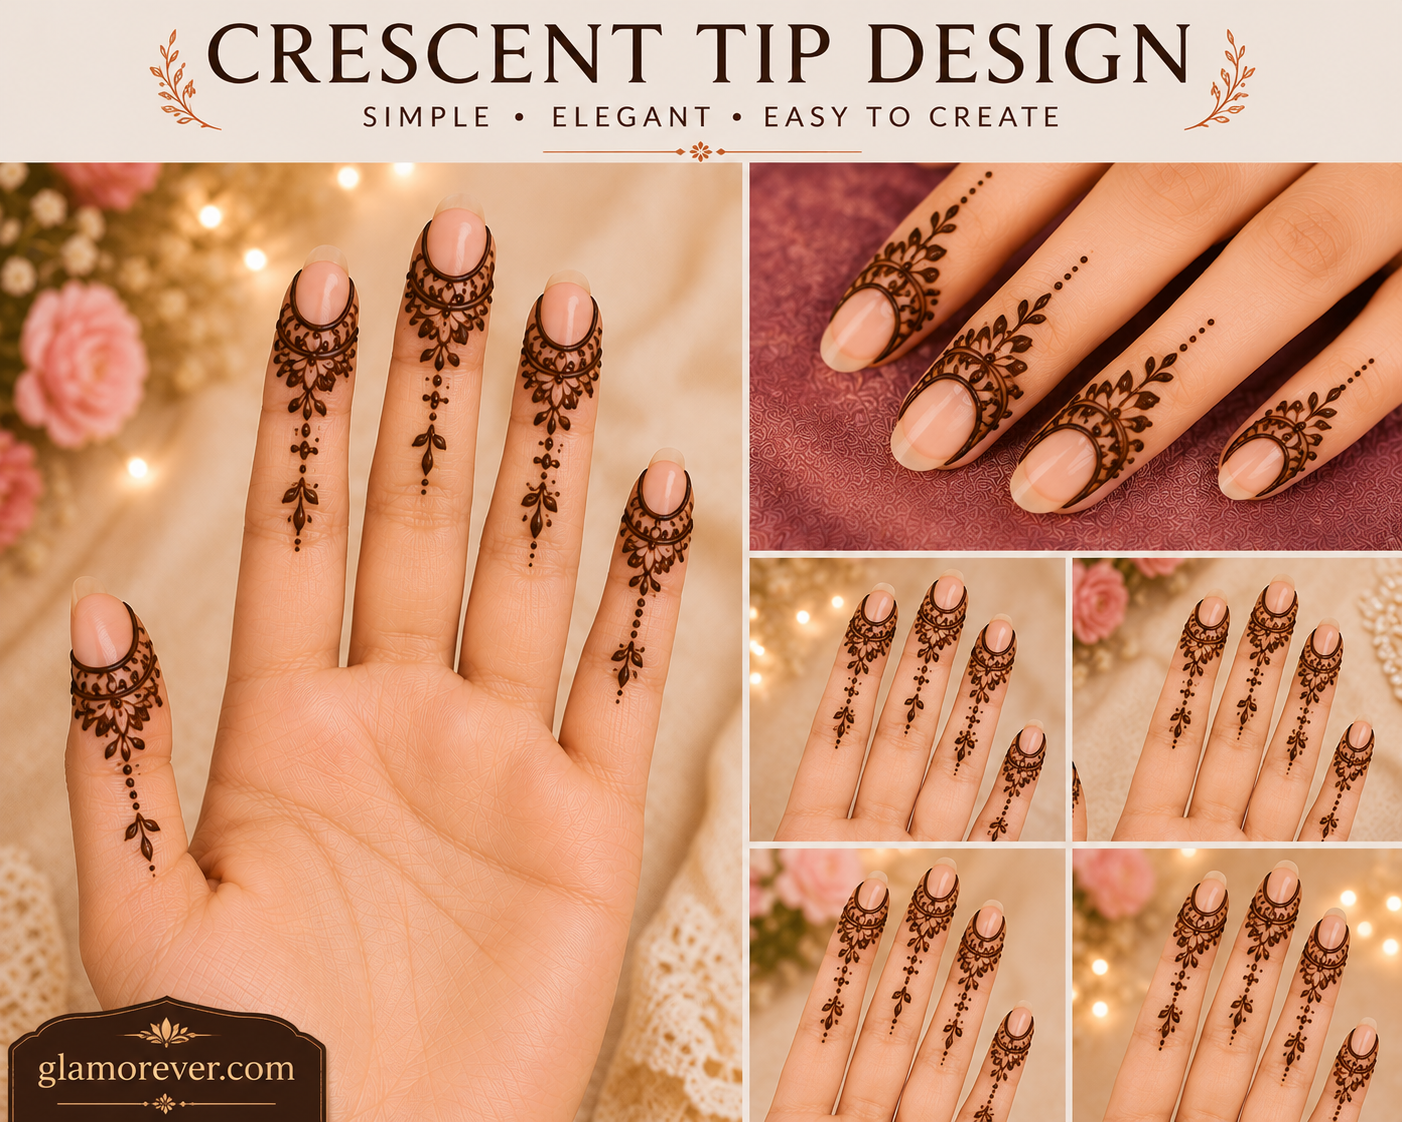
4. Crescent Tip Design
A crescent-moon shape at each fingertip, layered with fine lines underneath.
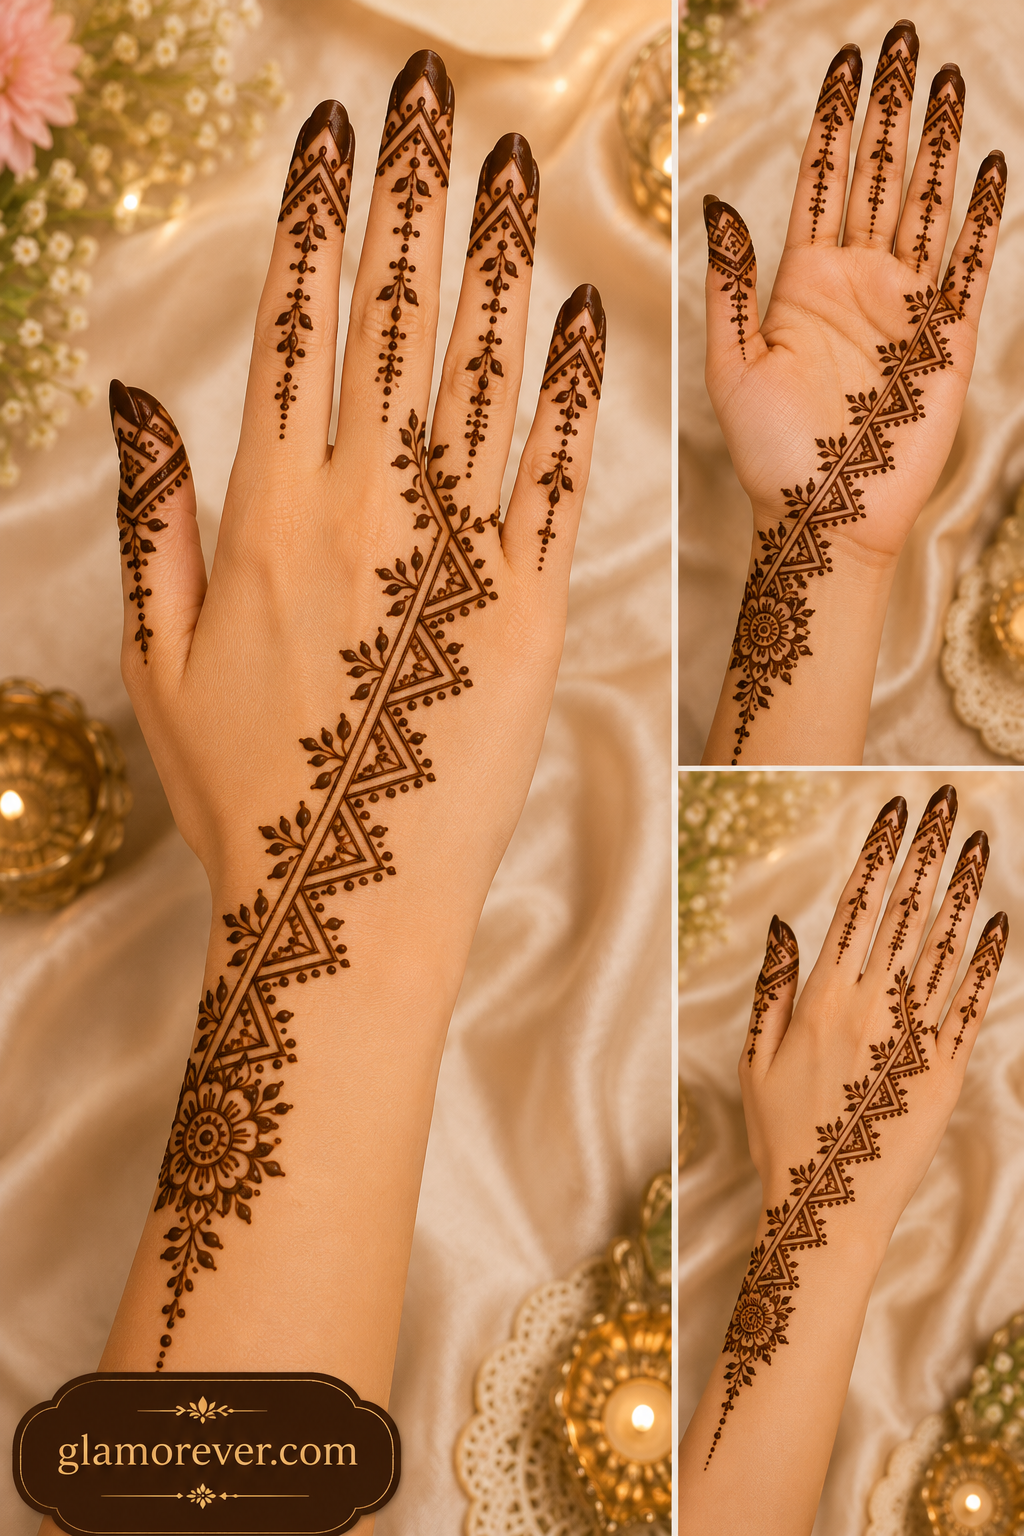
5. Triangle Chain
Small triangles connected in a chain running down the length of the finger.
🌺 Floral & Vine Patterns
Floral motifs remain the most popular mehndi style across India, and for good reason — they photograph beautifully and suit every occasion, from Teej to weddings.
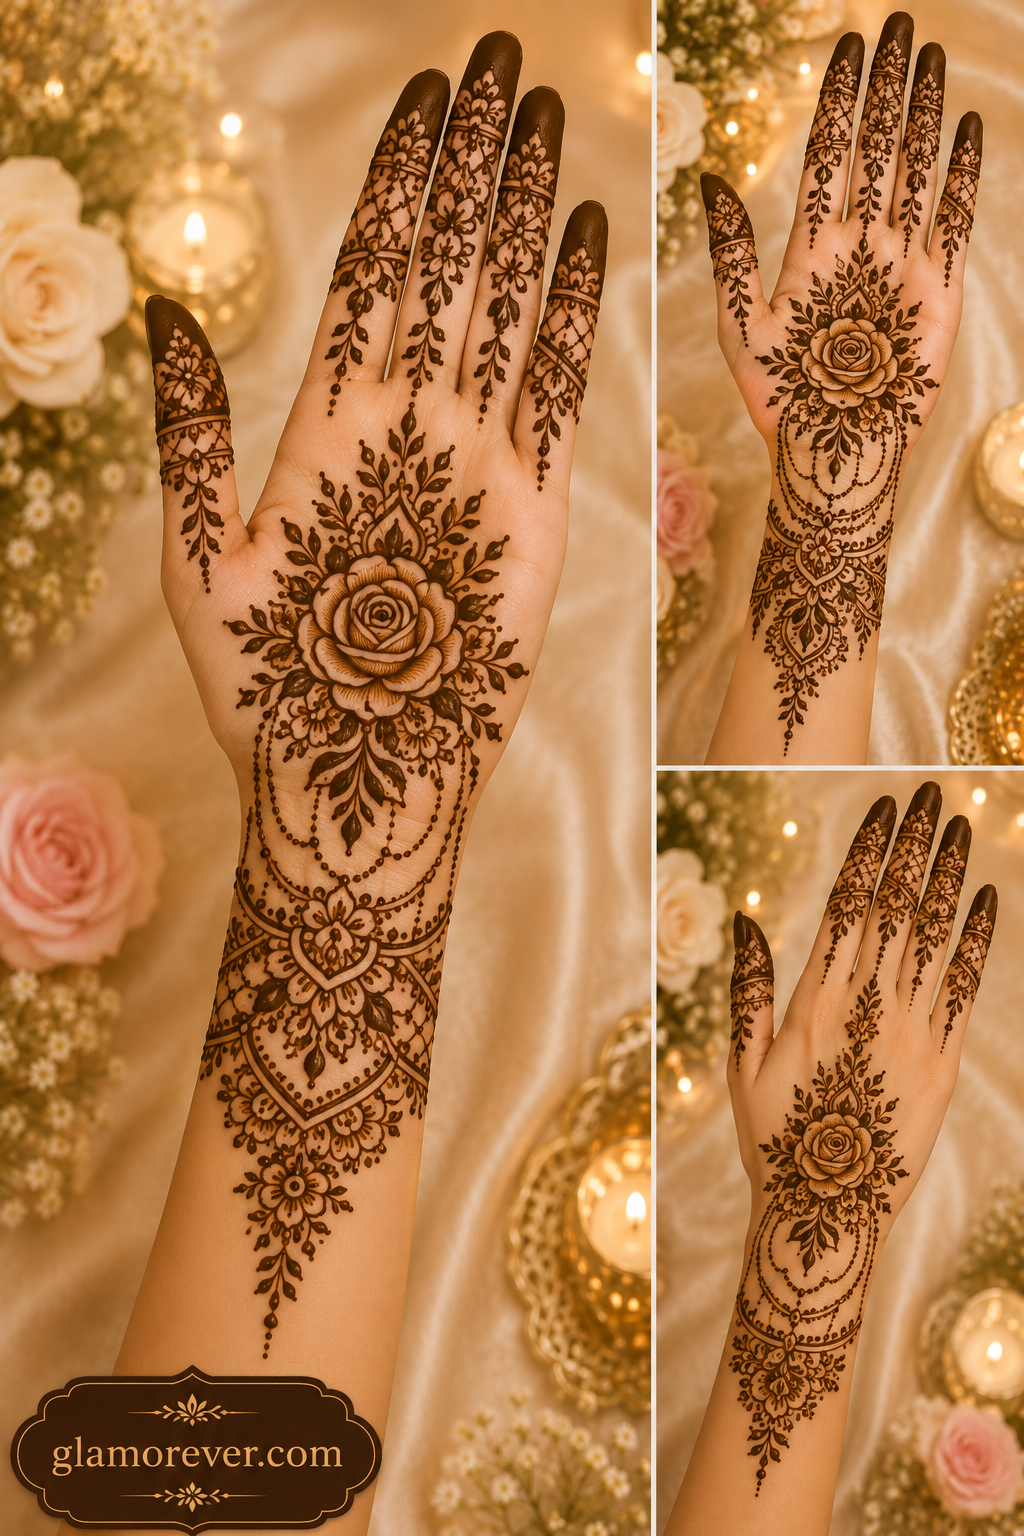
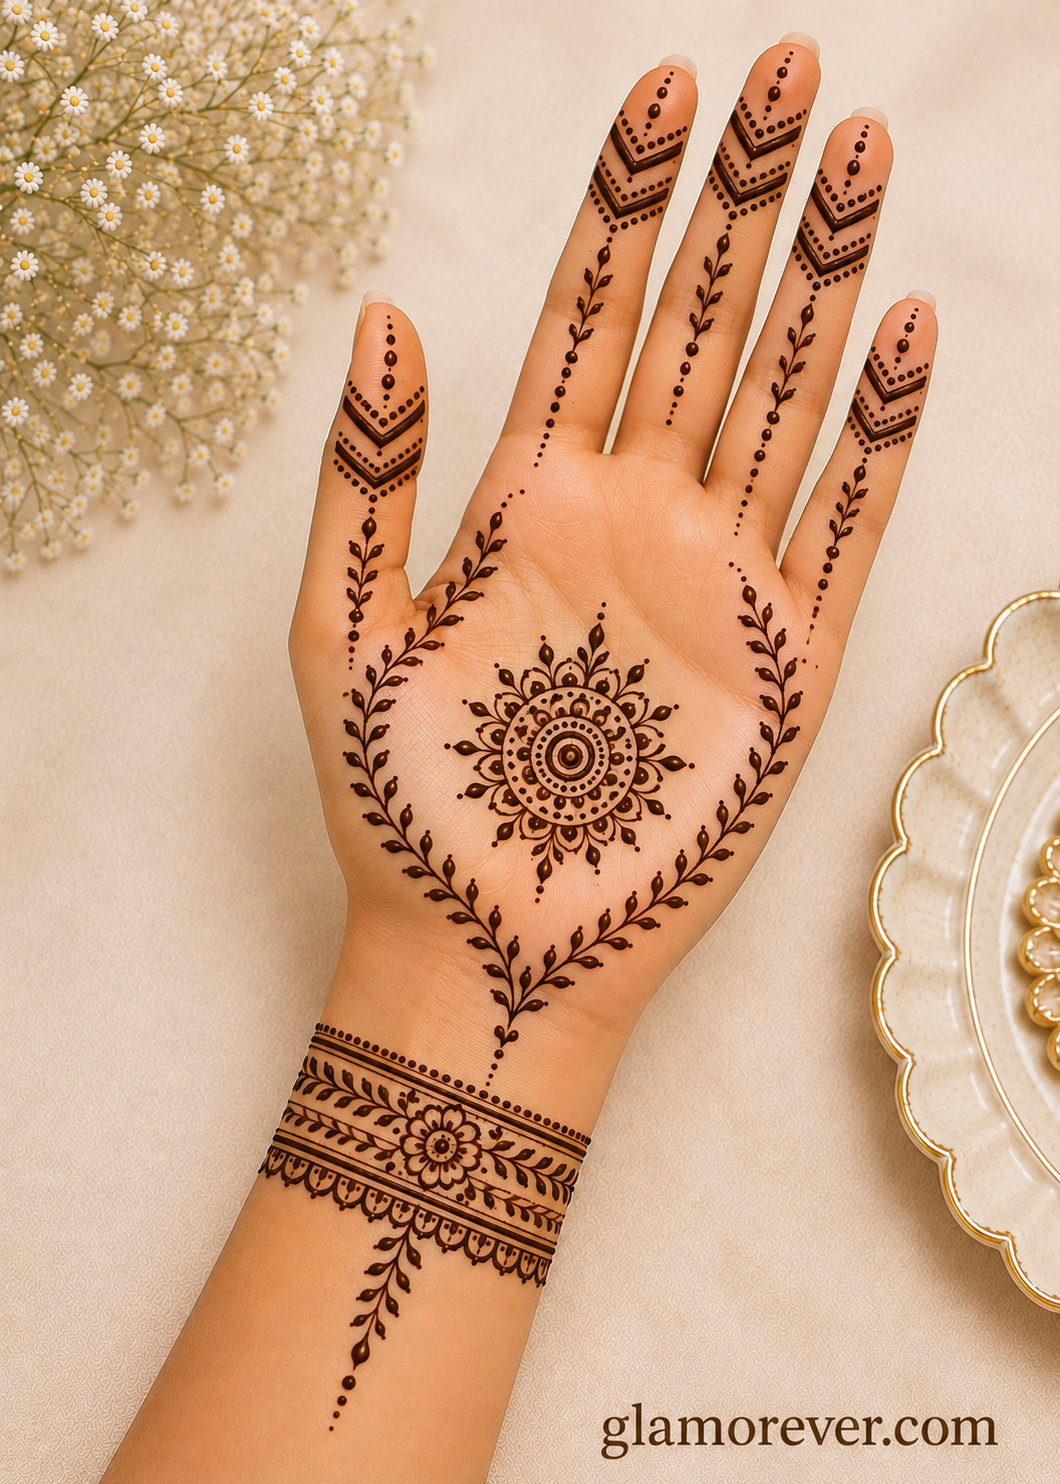
6. Rose Palm Centerpiece
A single detailed rose placed at the centre of the palm, surrounded by fine leaves.
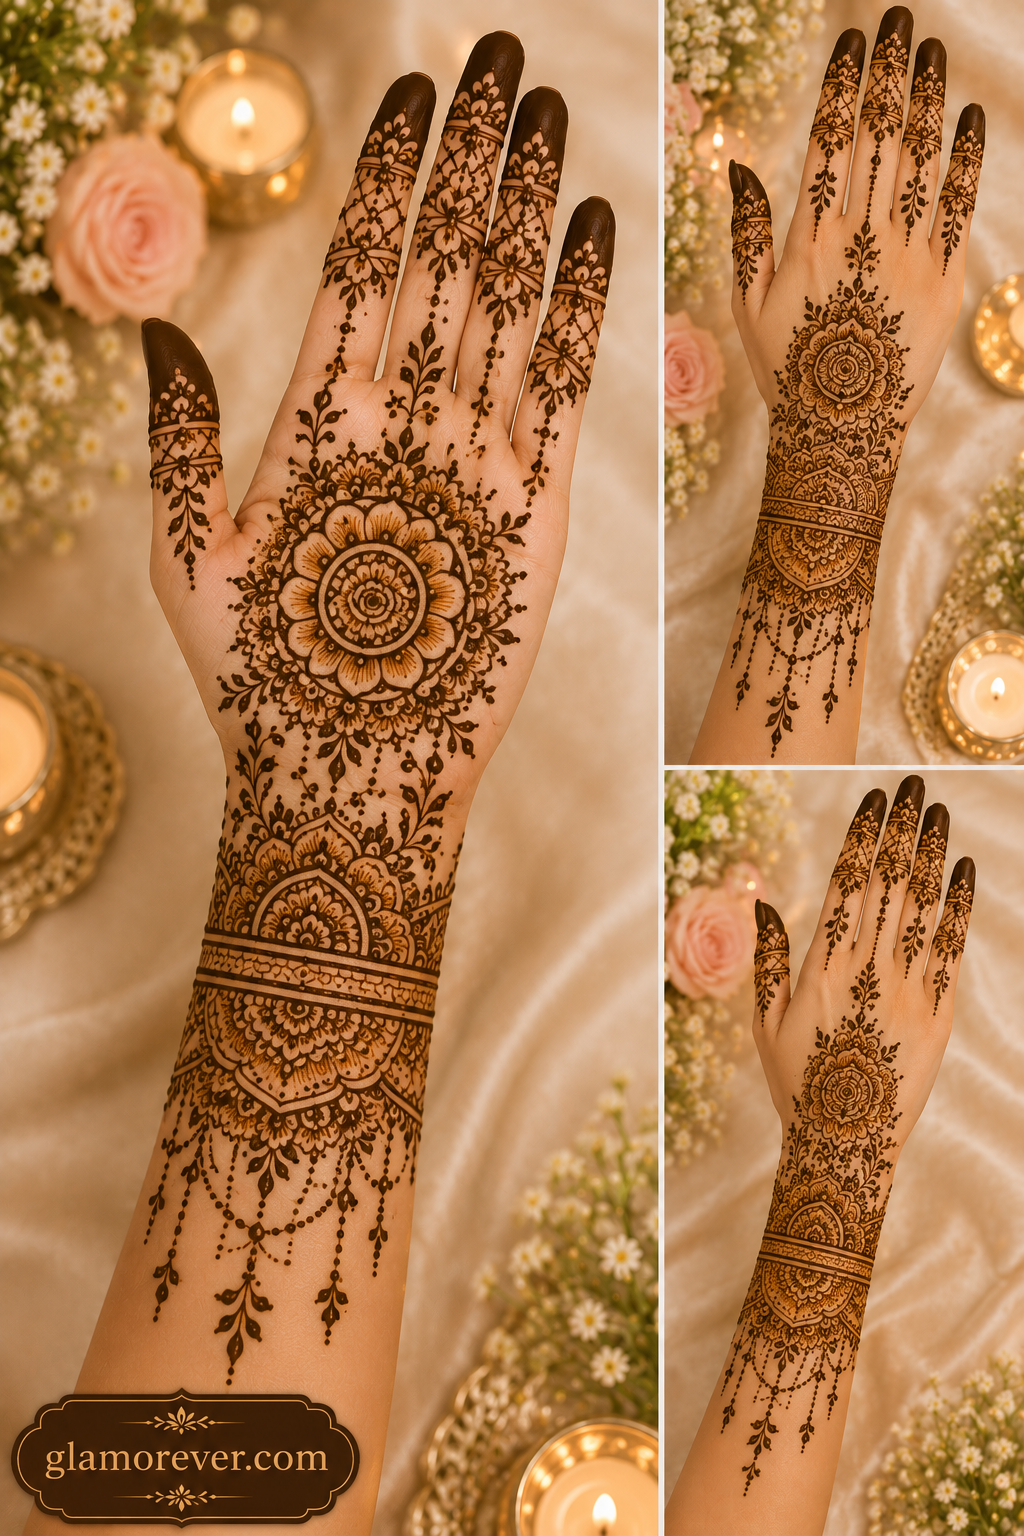
7.Mandala Flower Wrist Band
A circular flower design worn like a bracelet around the wrist — trendy and quick.
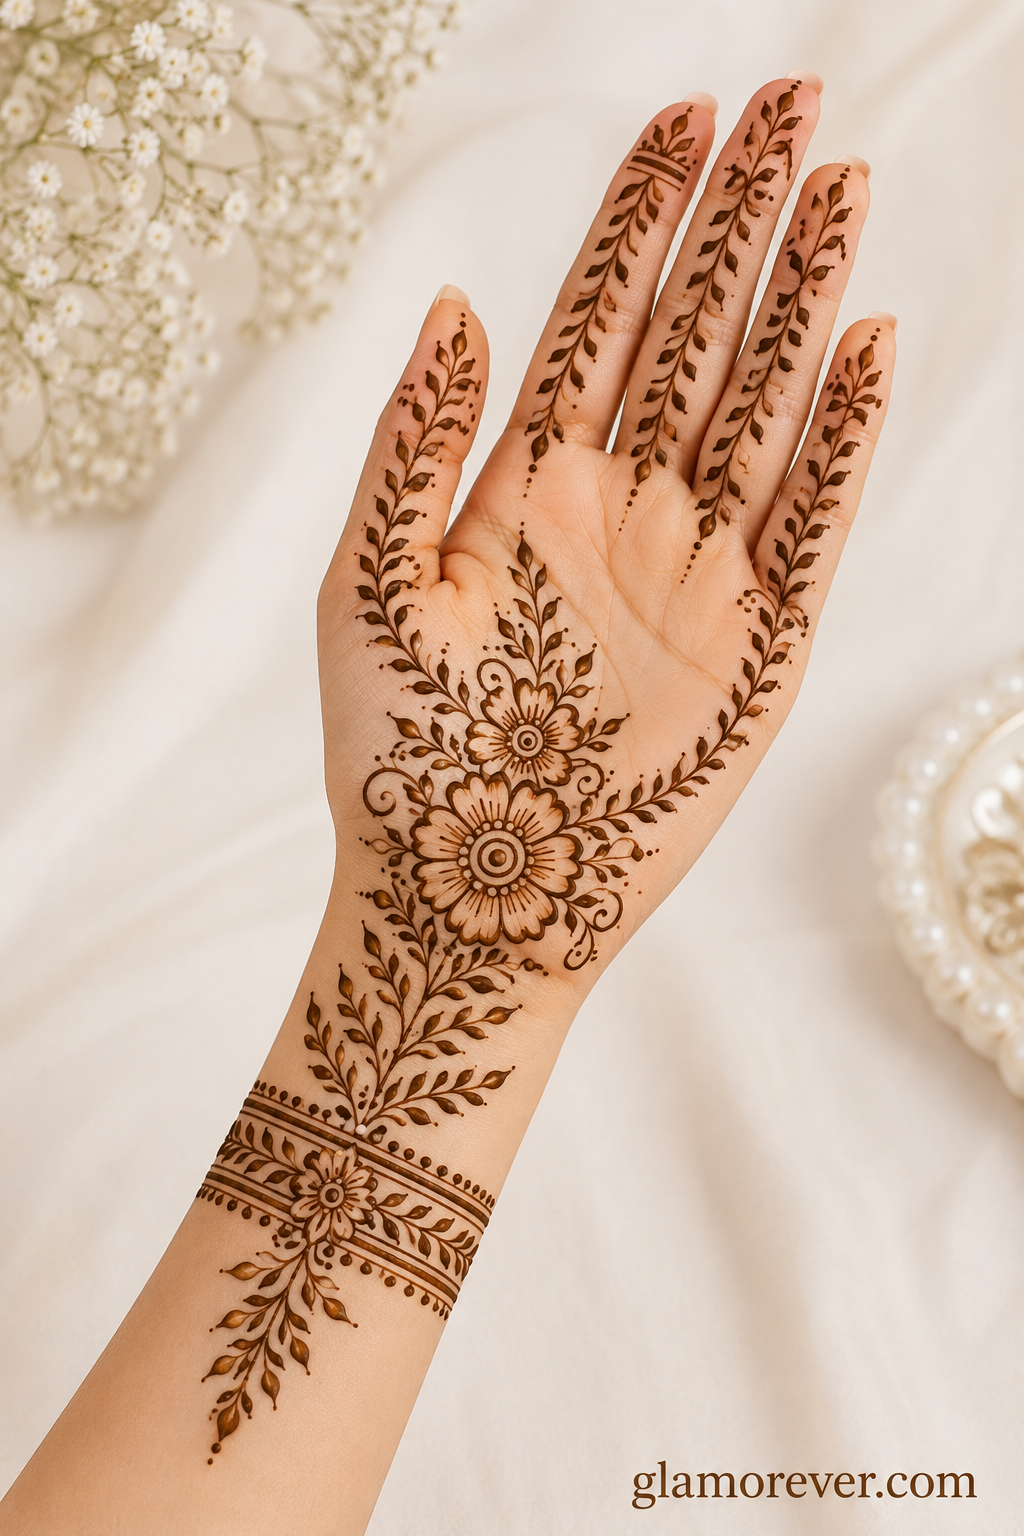
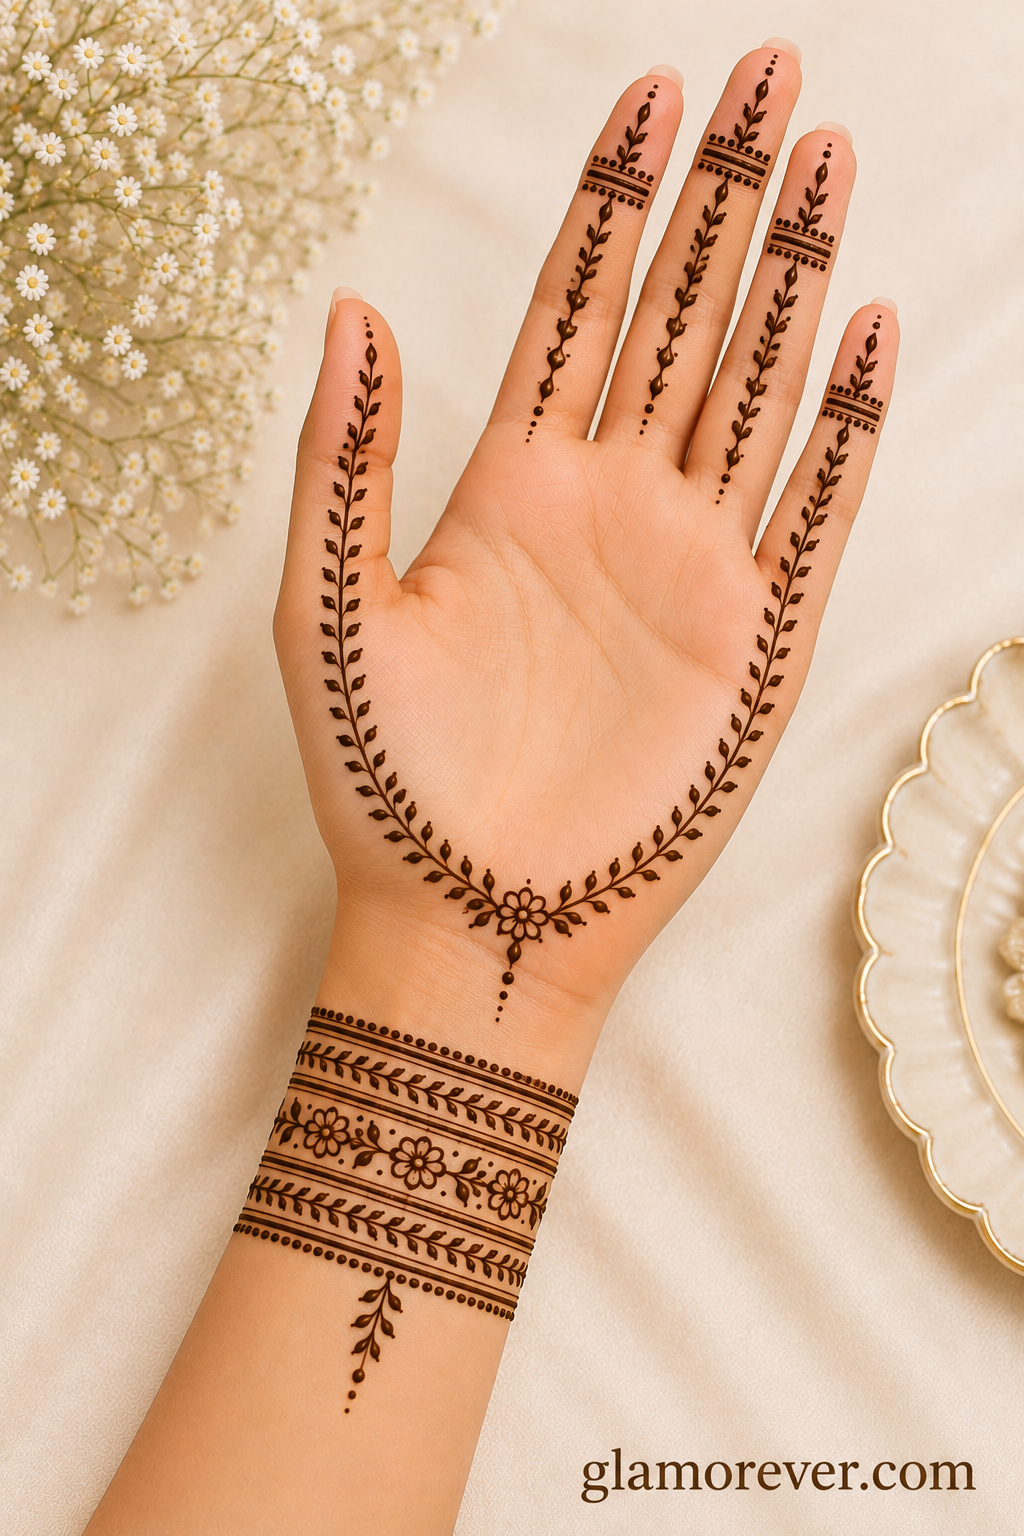
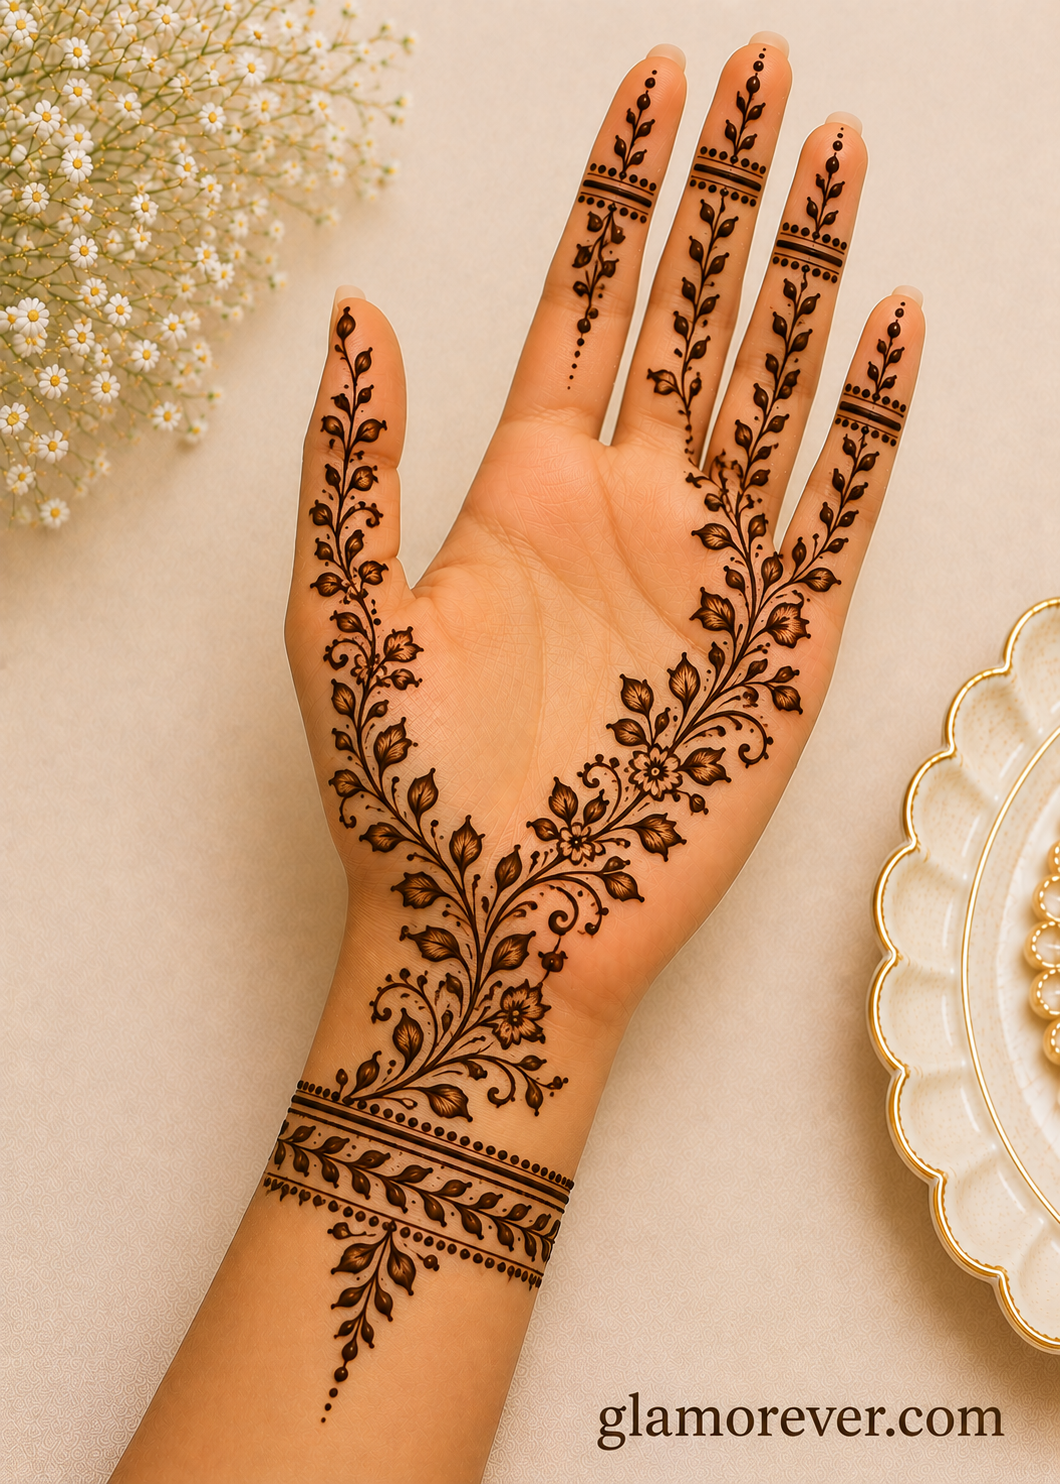
8. Trailing Vine Along Fingers
A continuous vine that trails from the wrist up through each finger.
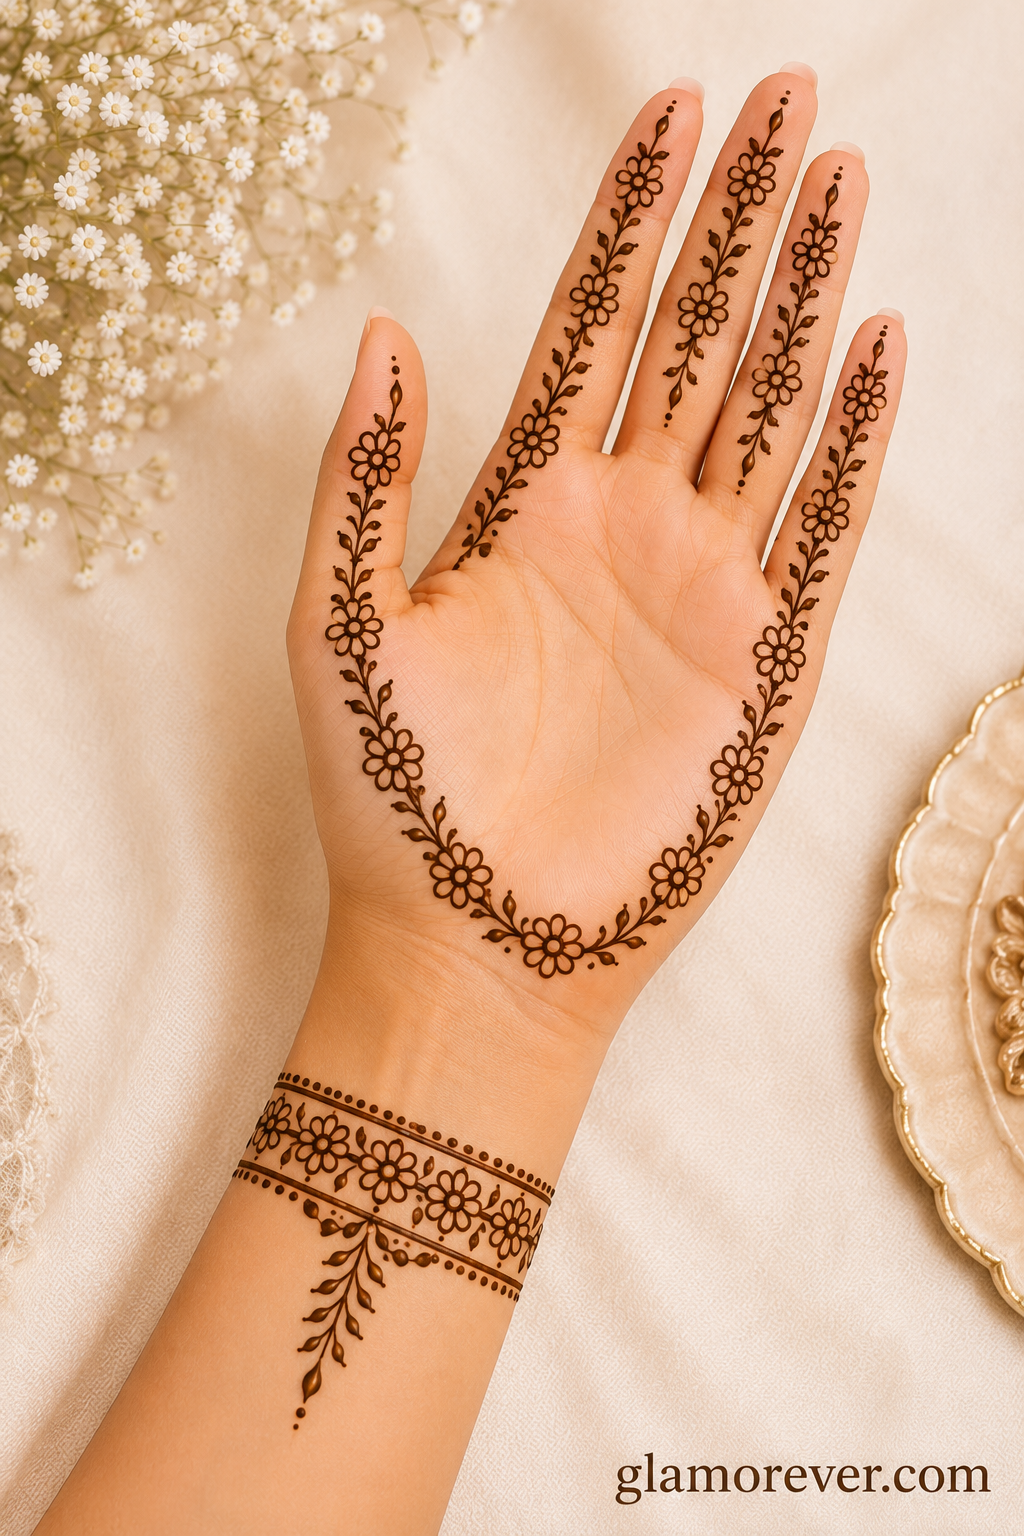
9. Daisy Chain Border
A row of small daisies used as a border along the edge of the hand or wrist.
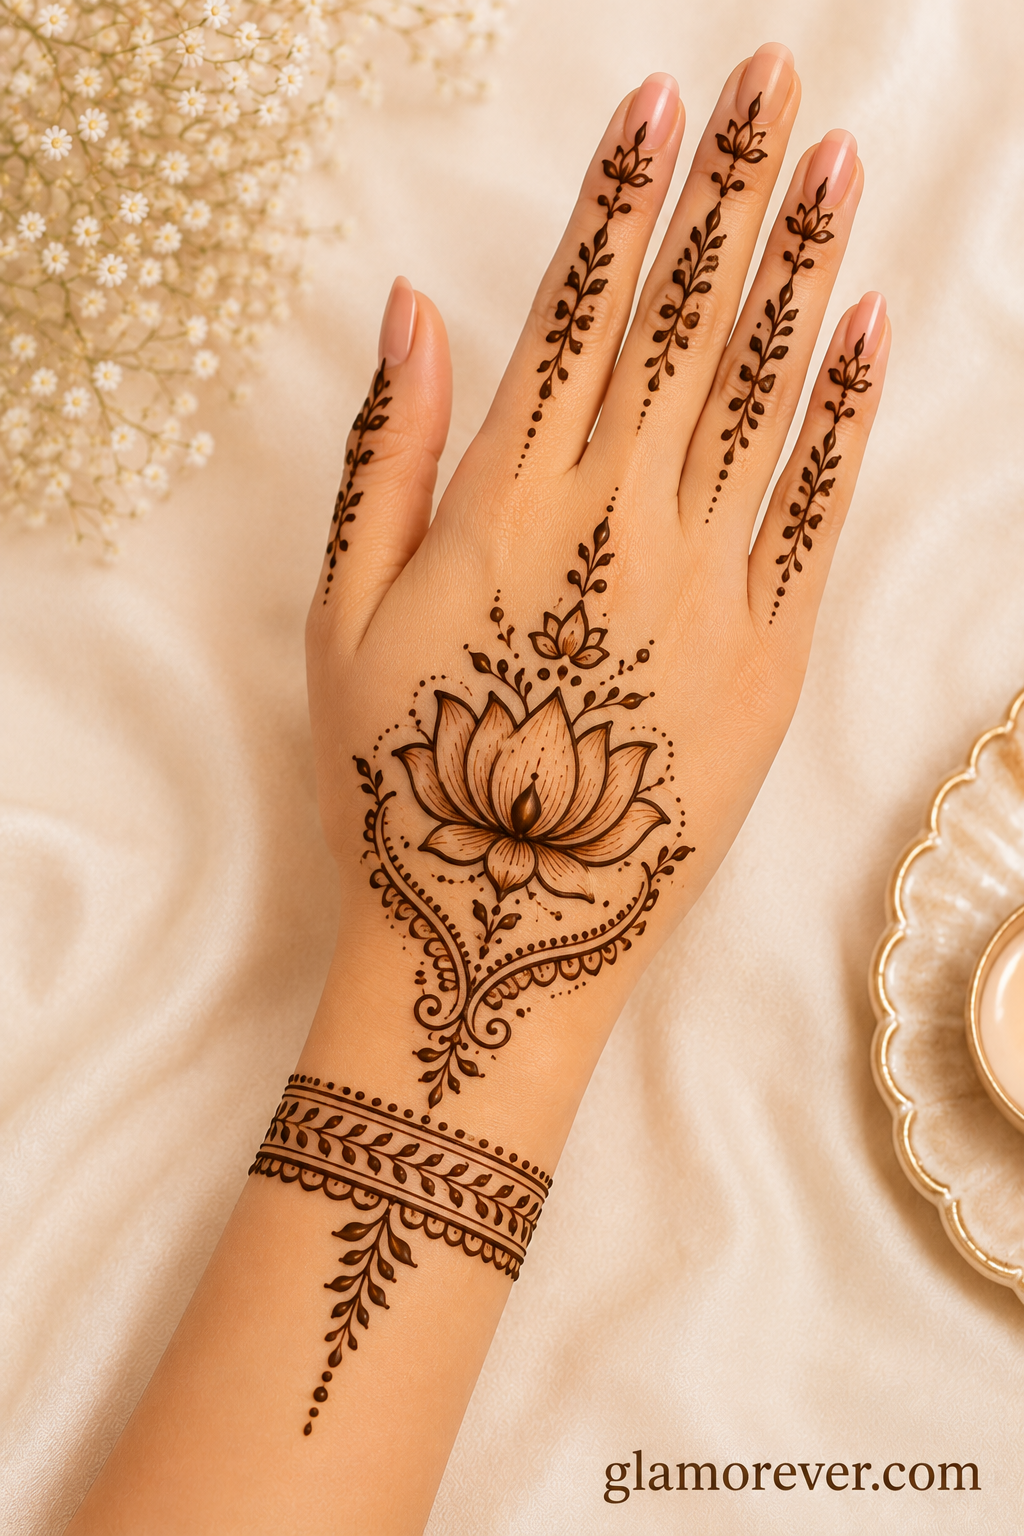
10. Lotus Back-Hand Motif
A single lotus flower on the back of the hand — elegant, symbolic, and simple to draw.
🔷 Geometric & Minimalist Designs
If floral patterns feel too intricate for now, geometric mehndi is a fantastic, modern alternative that’s currently trending across Instagram and Pinterest.
11. Checkerboard Palm Fill
Small squares filled in alternately — striking, symmetrical, and beginner-friendly.
12. Straight Line Wrist Cuff
Parallel horizontal lines around the wrist, styled like a bold cuff bracelet.
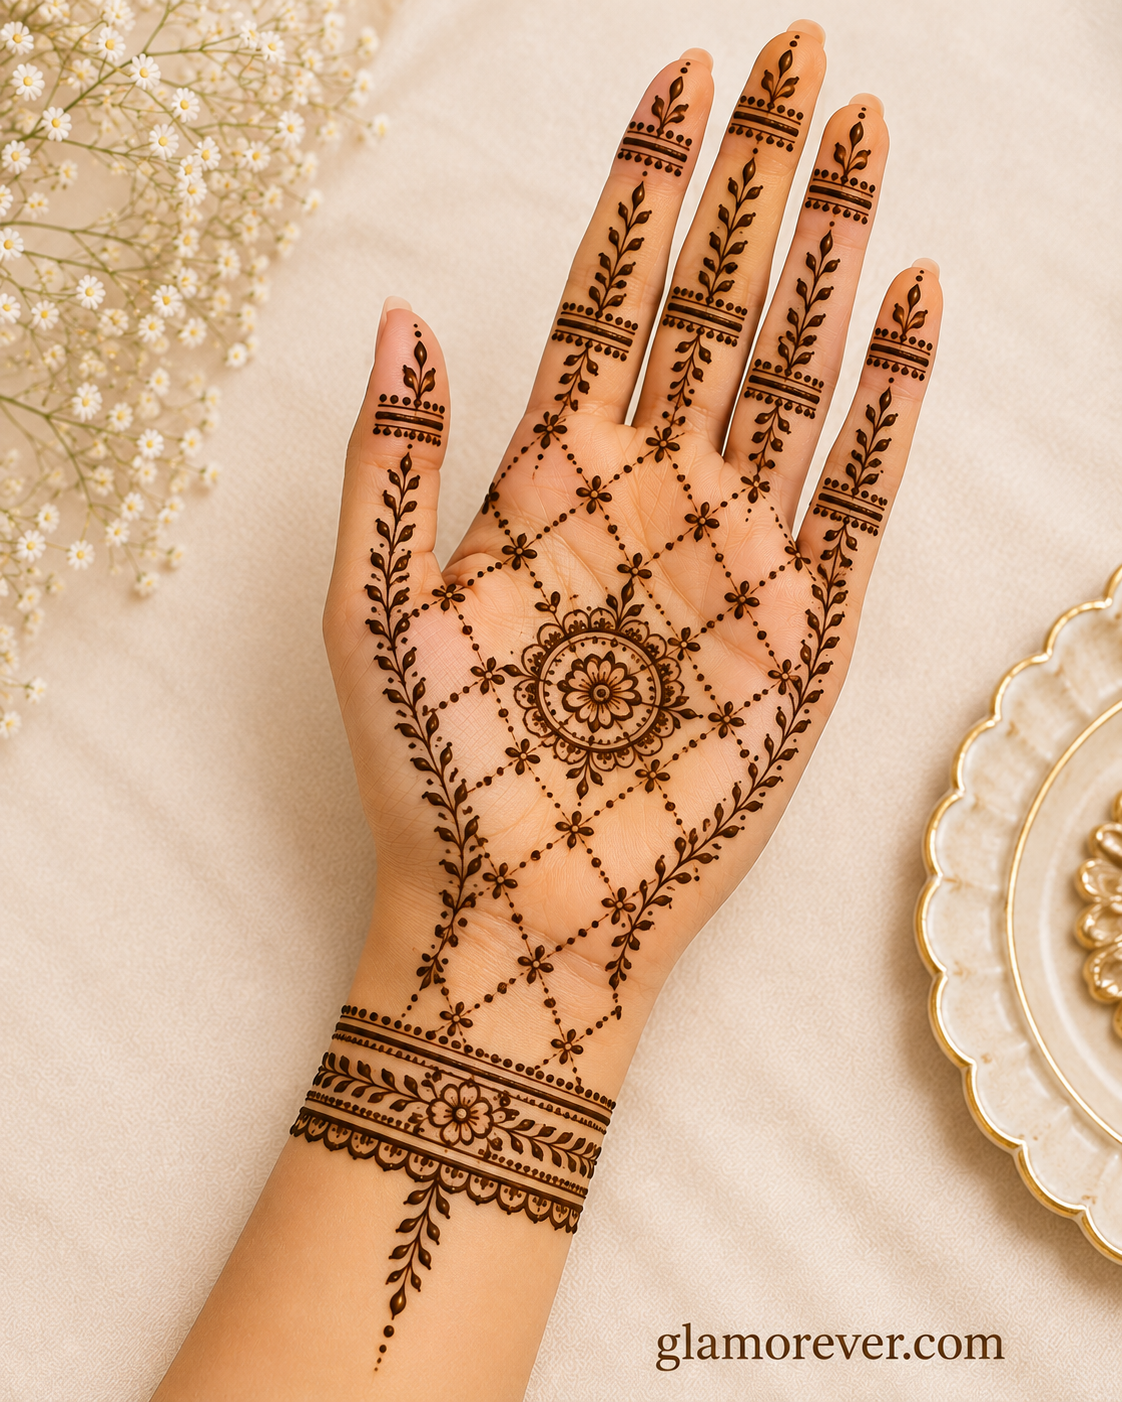
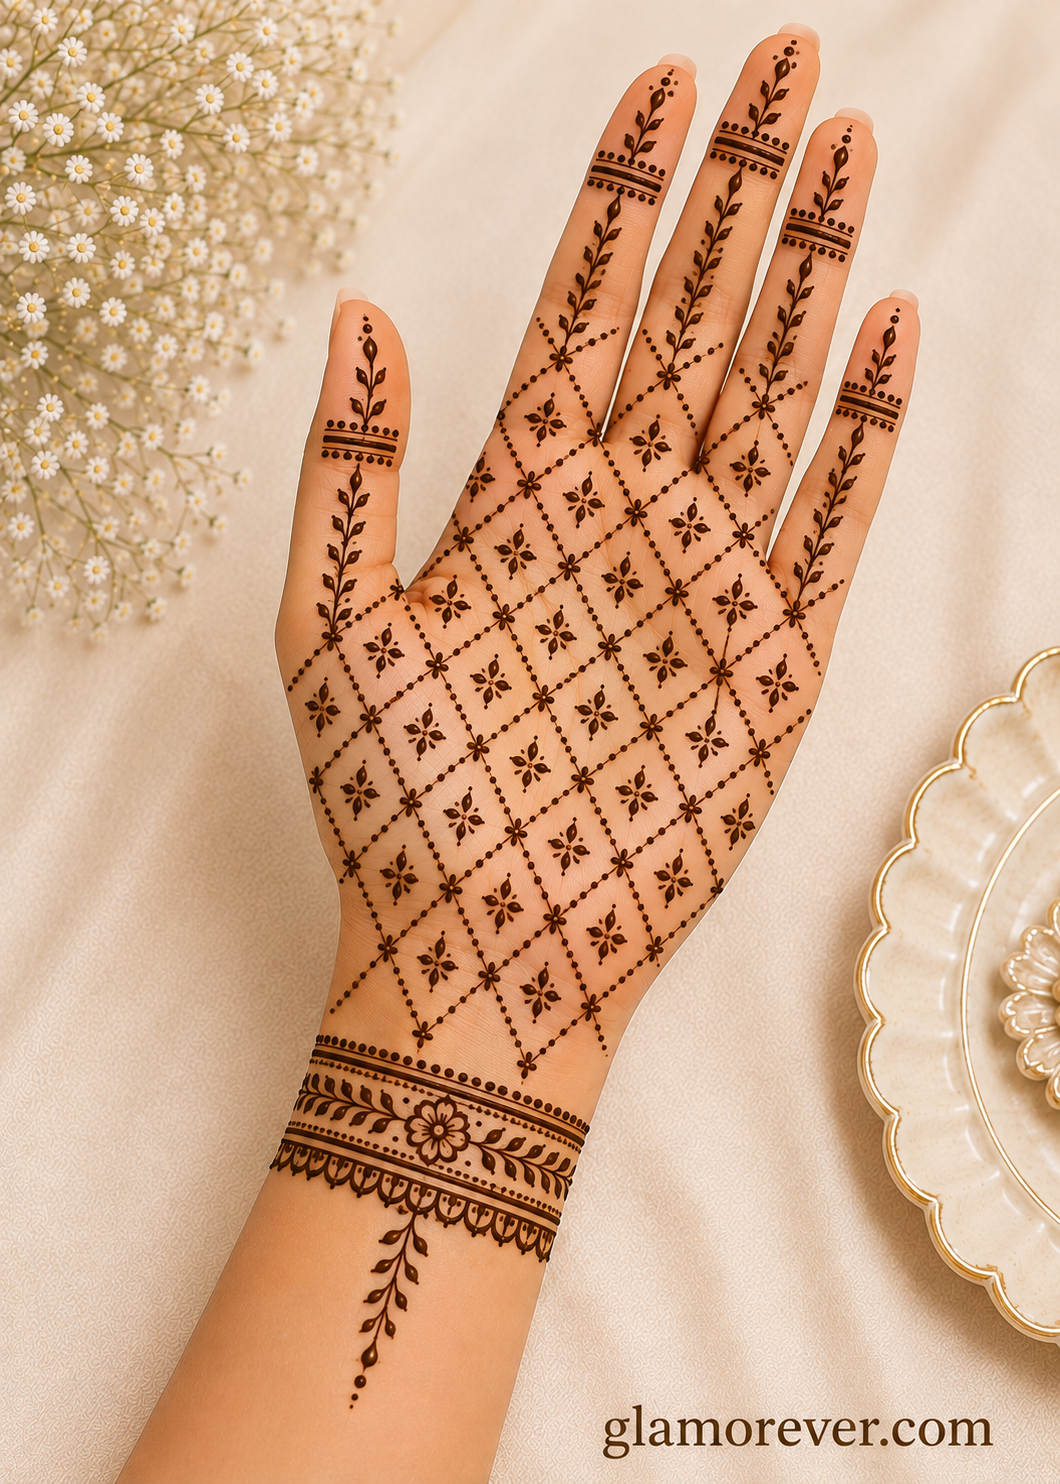
13. Diamond Grid Pattern
A diagonal grid of diamonds, either left plain or filled with dots for texture.
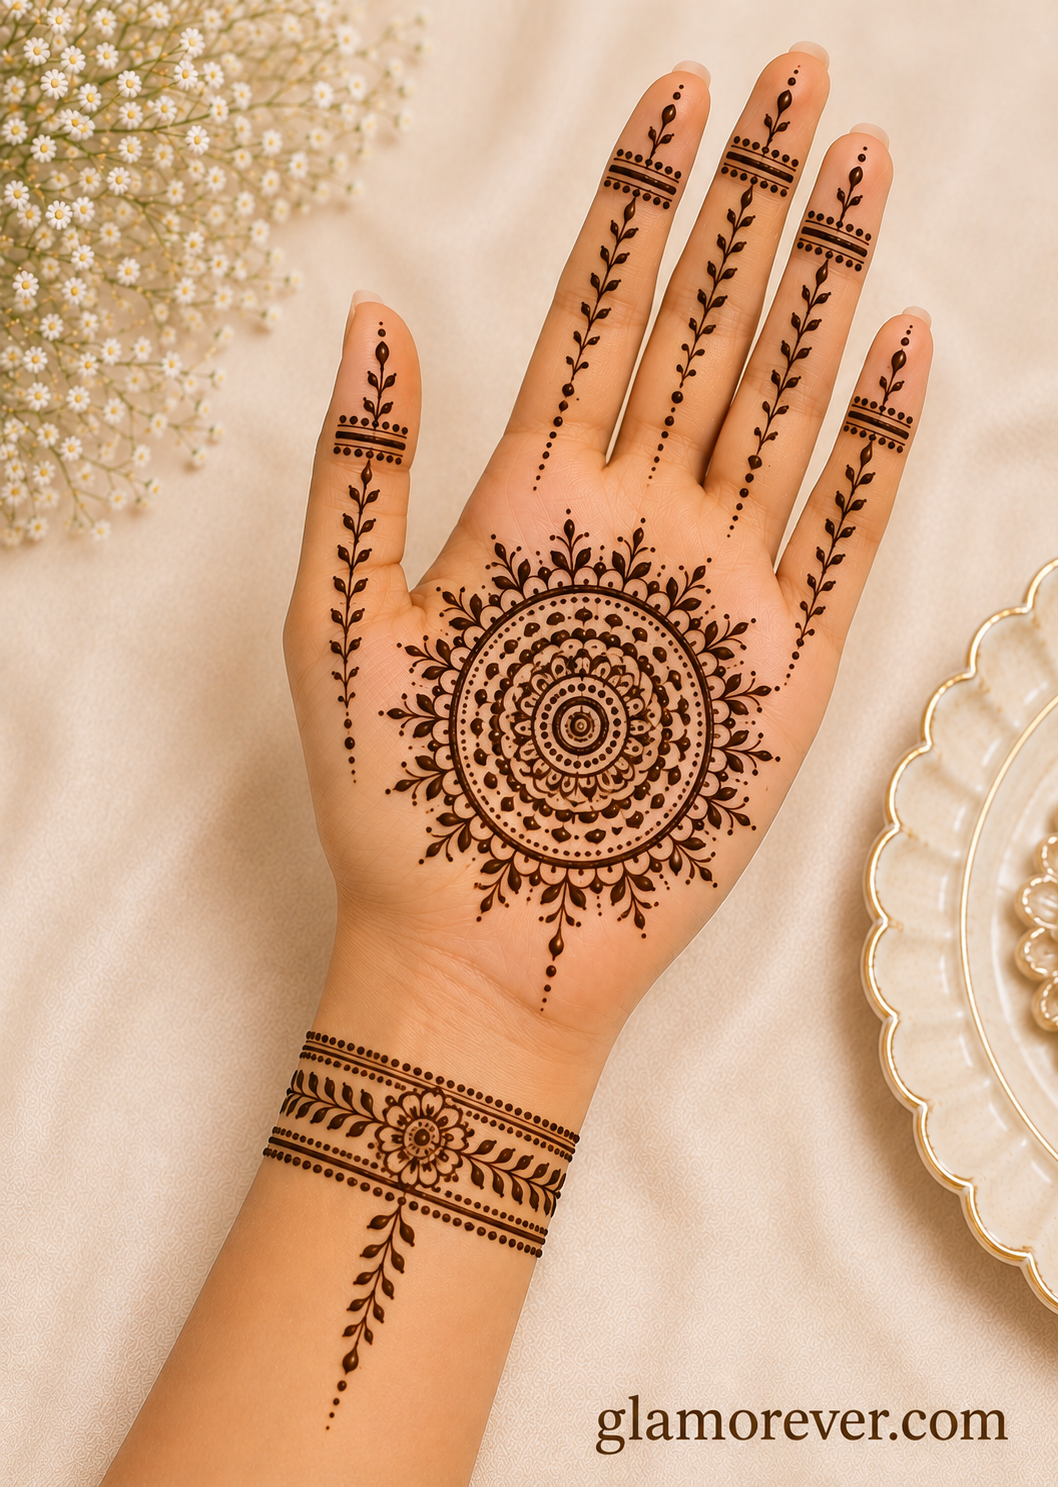
14. Dot Mandala Circle
Concentric circles made entirely of dots — surprisingly simple, yet very eye-catching.
15. Chevron Finger Bands
Zig-zag chevron patterns wrapped around each finger like tiny bands.
🌙 Arabic-Inspired Patterns
Arabic mehndi is known for its bold, flowing lines and open spaces, which — as a bonus — makes it faster to apply than dense Indian patterns.
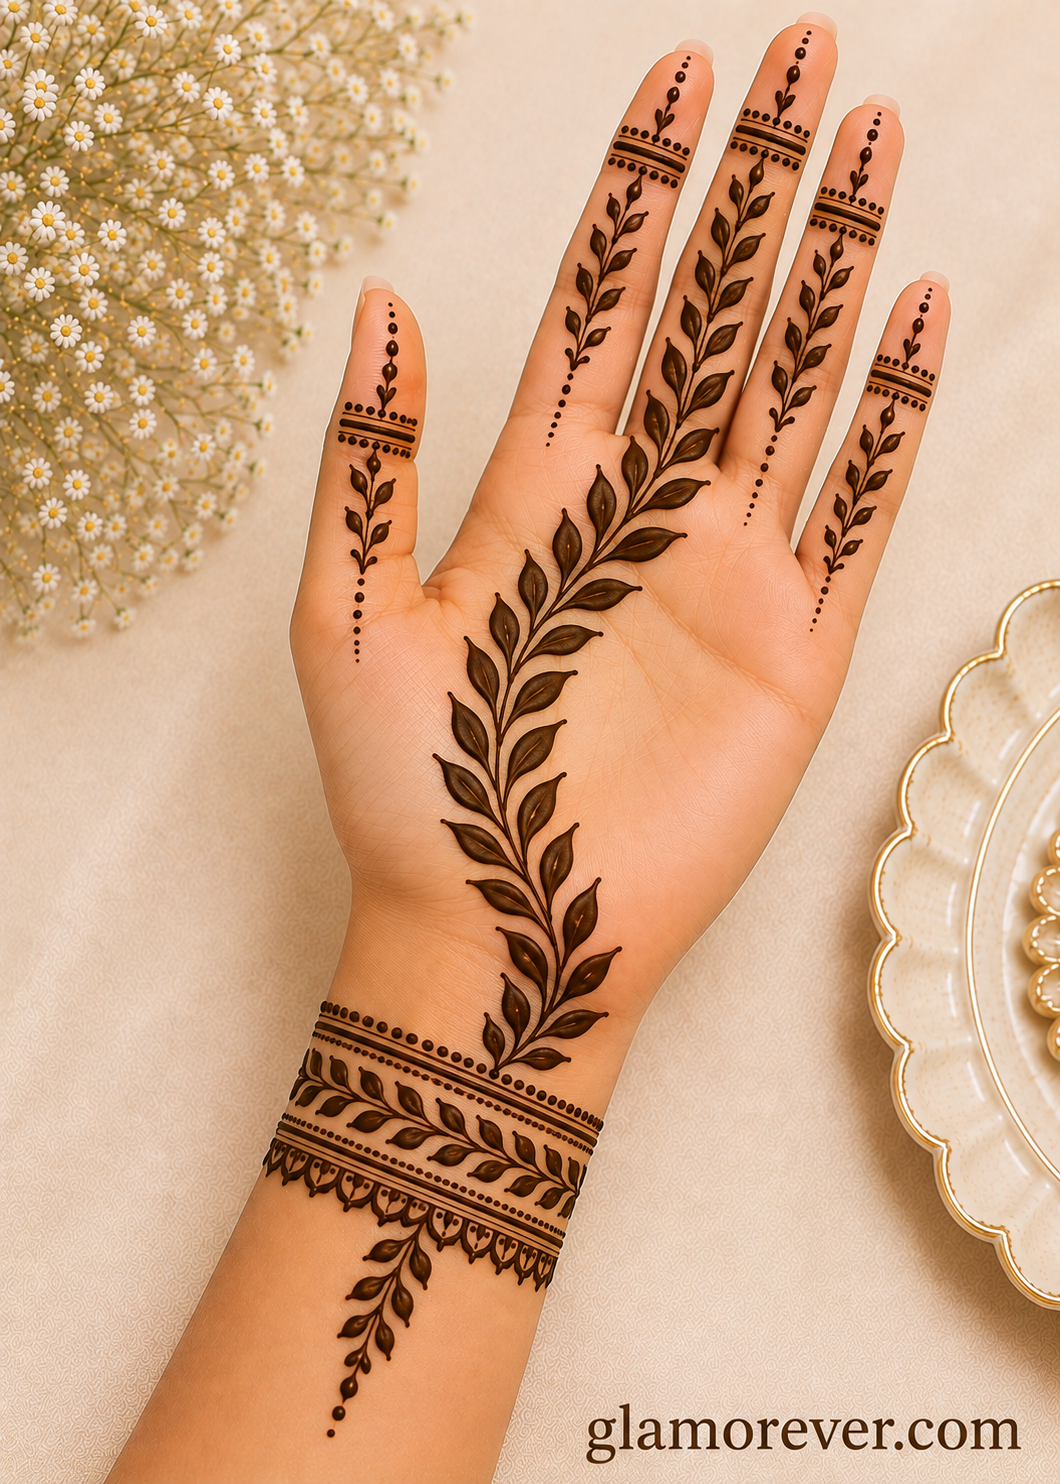
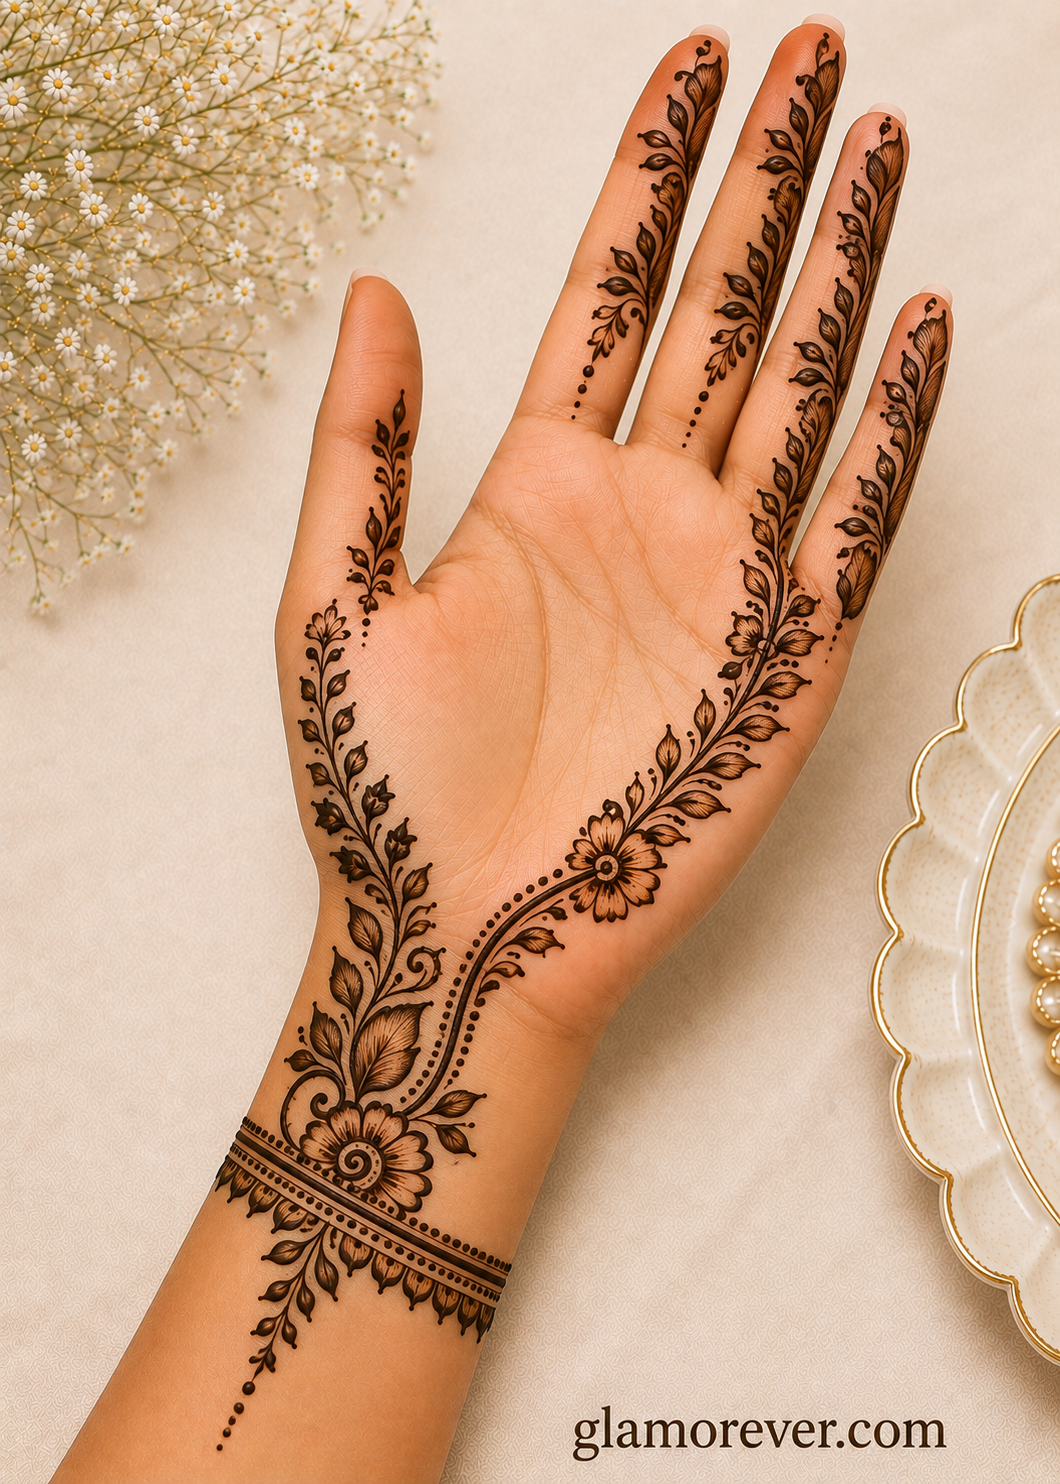
16. Bold Leaf Trail
Large, bold leaves flowing diagonally across the back of the hand.
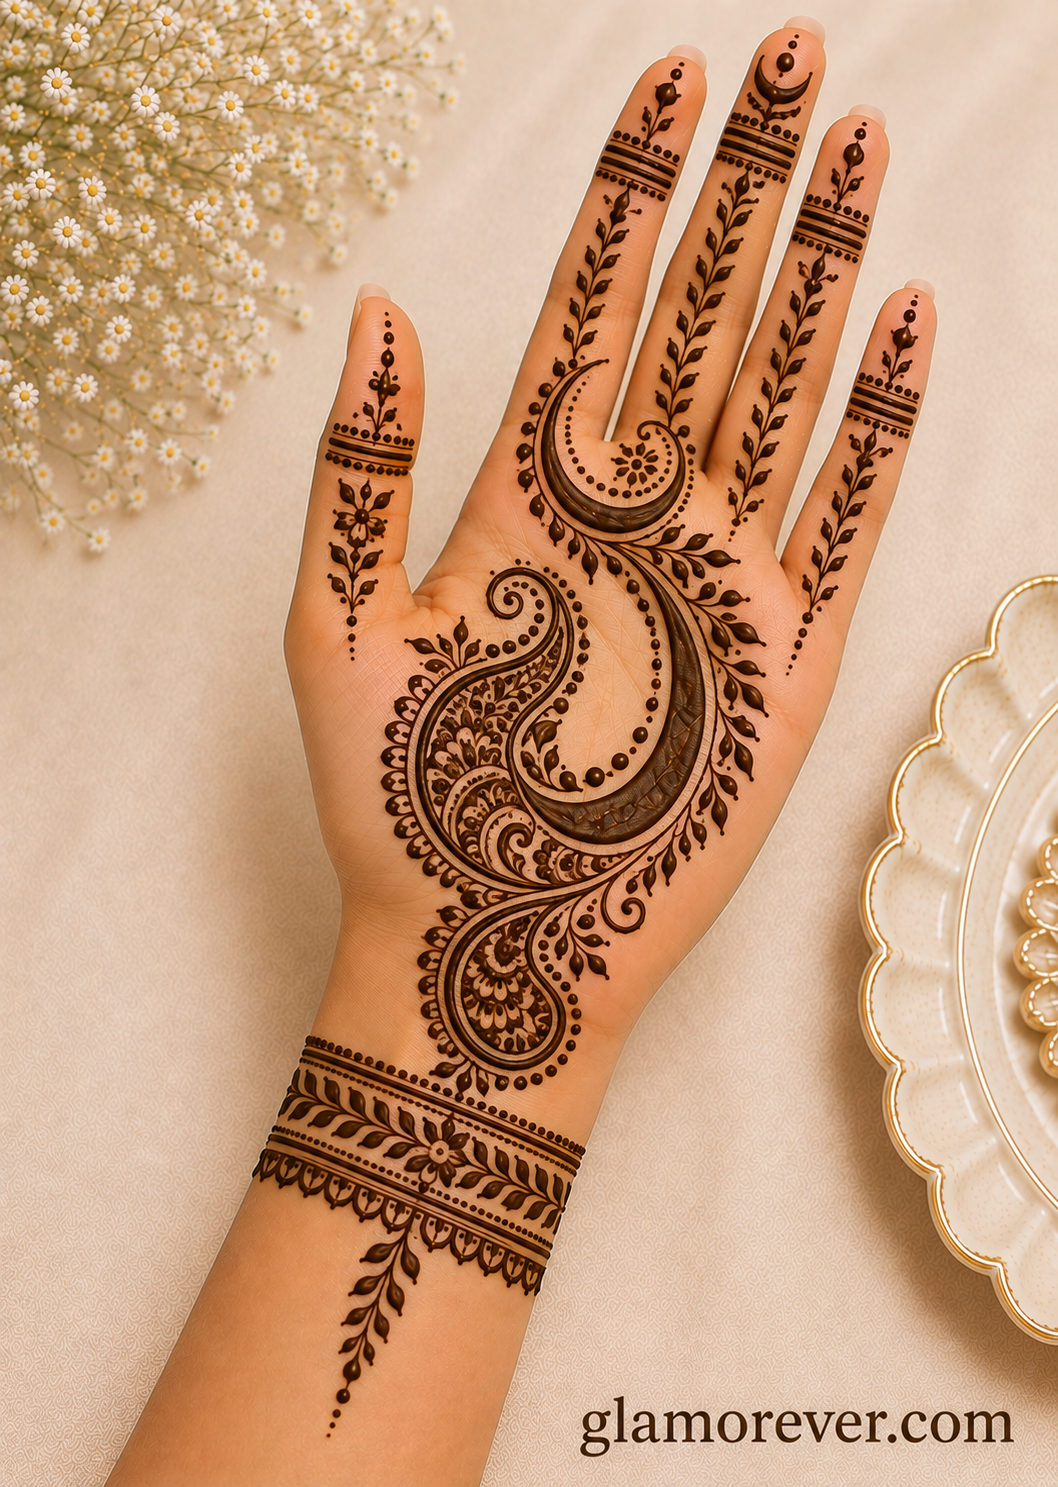
17. Crescent & Paisley Combo
A crescent shape paired with a paisley motif, connected by a thin flowing line.
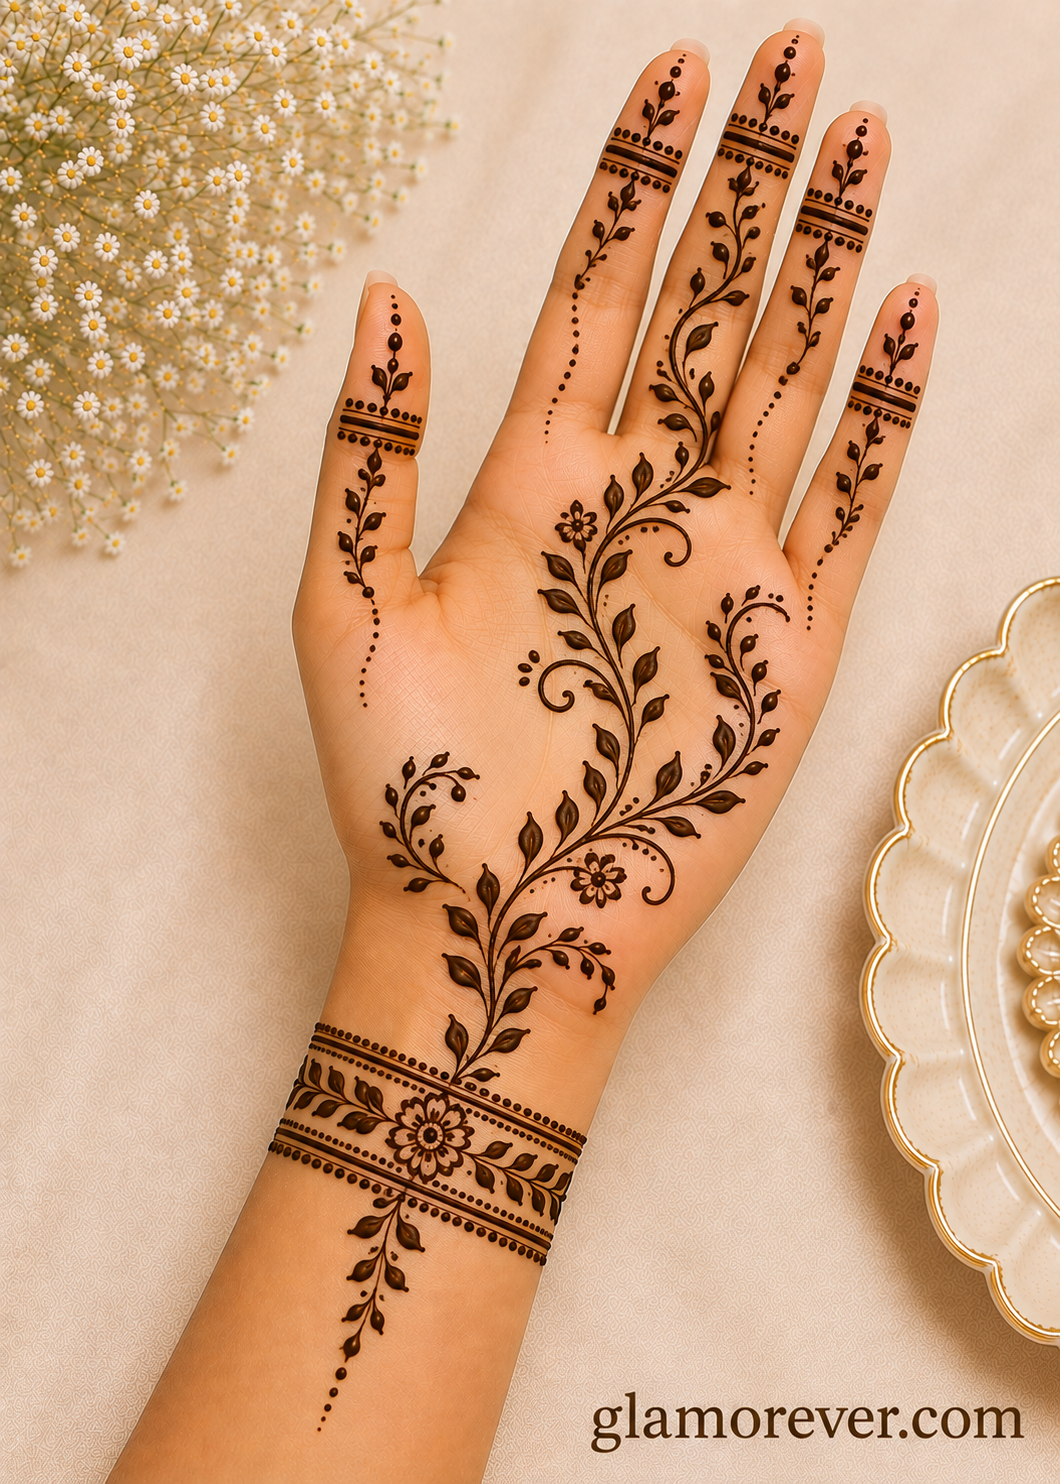
18. Open Space Vine Design
A single flowing vine with lots of negative space — elegant and quick to complete.
19. Side Finger Shaded Design
Bold shading along the side of the fingers, contrasted with plain skin elsewhere.
🤲 Back-Hand & Full Palm Designs
Once you’ve built some confidence, these slightly bigger patterns are worth trying for festive occasions.
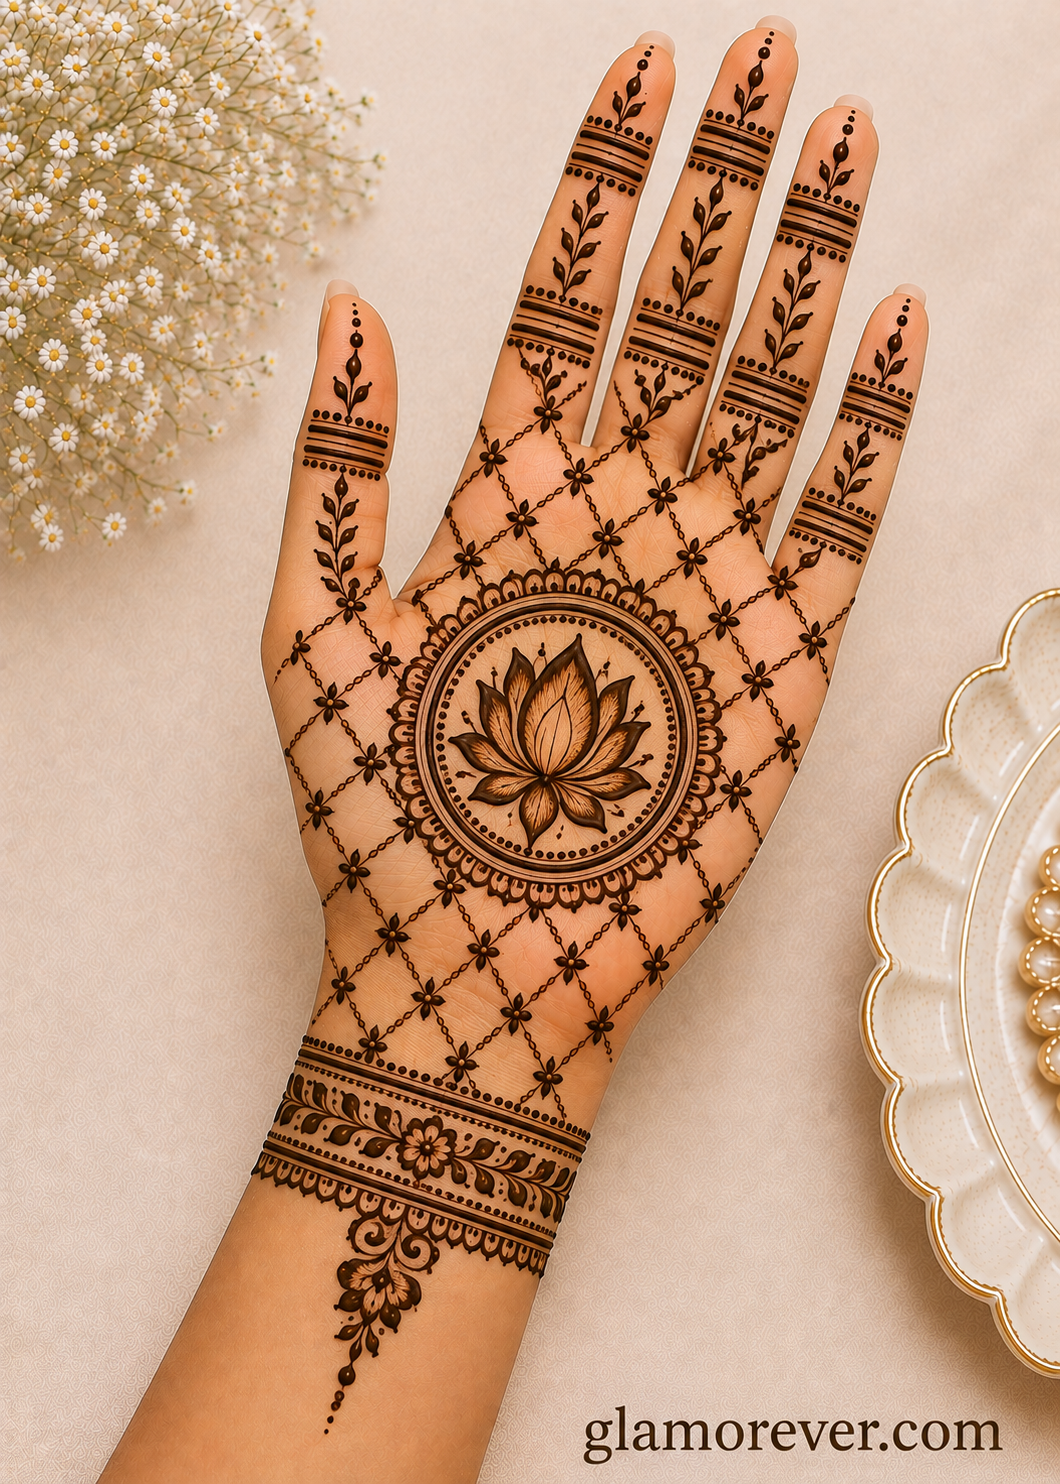
20. Center Lotus with Jaal
A lotus centerpiece with a light net (jaal) pattern spreading outward.
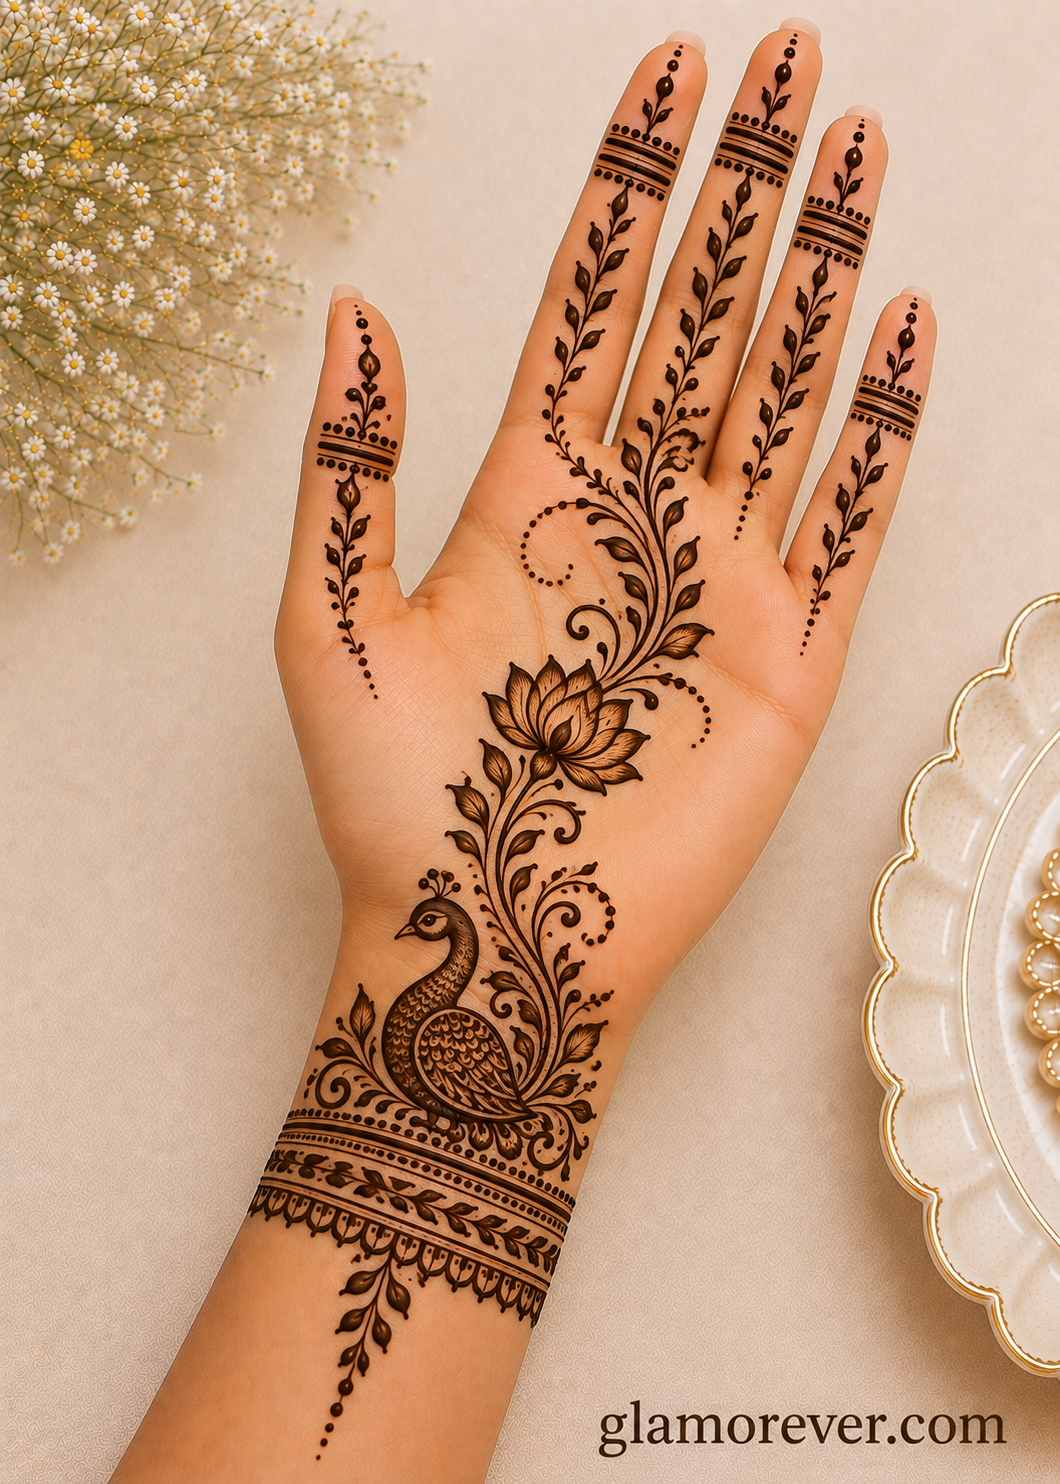
21. Peacock Wrist Motif
A simplified peacock design on the wrist, a beloved traditional choice.
22. Half-Palm Vine Coverage
Vine patterns covering only half of the palm, leaving the rest minimal and clean.
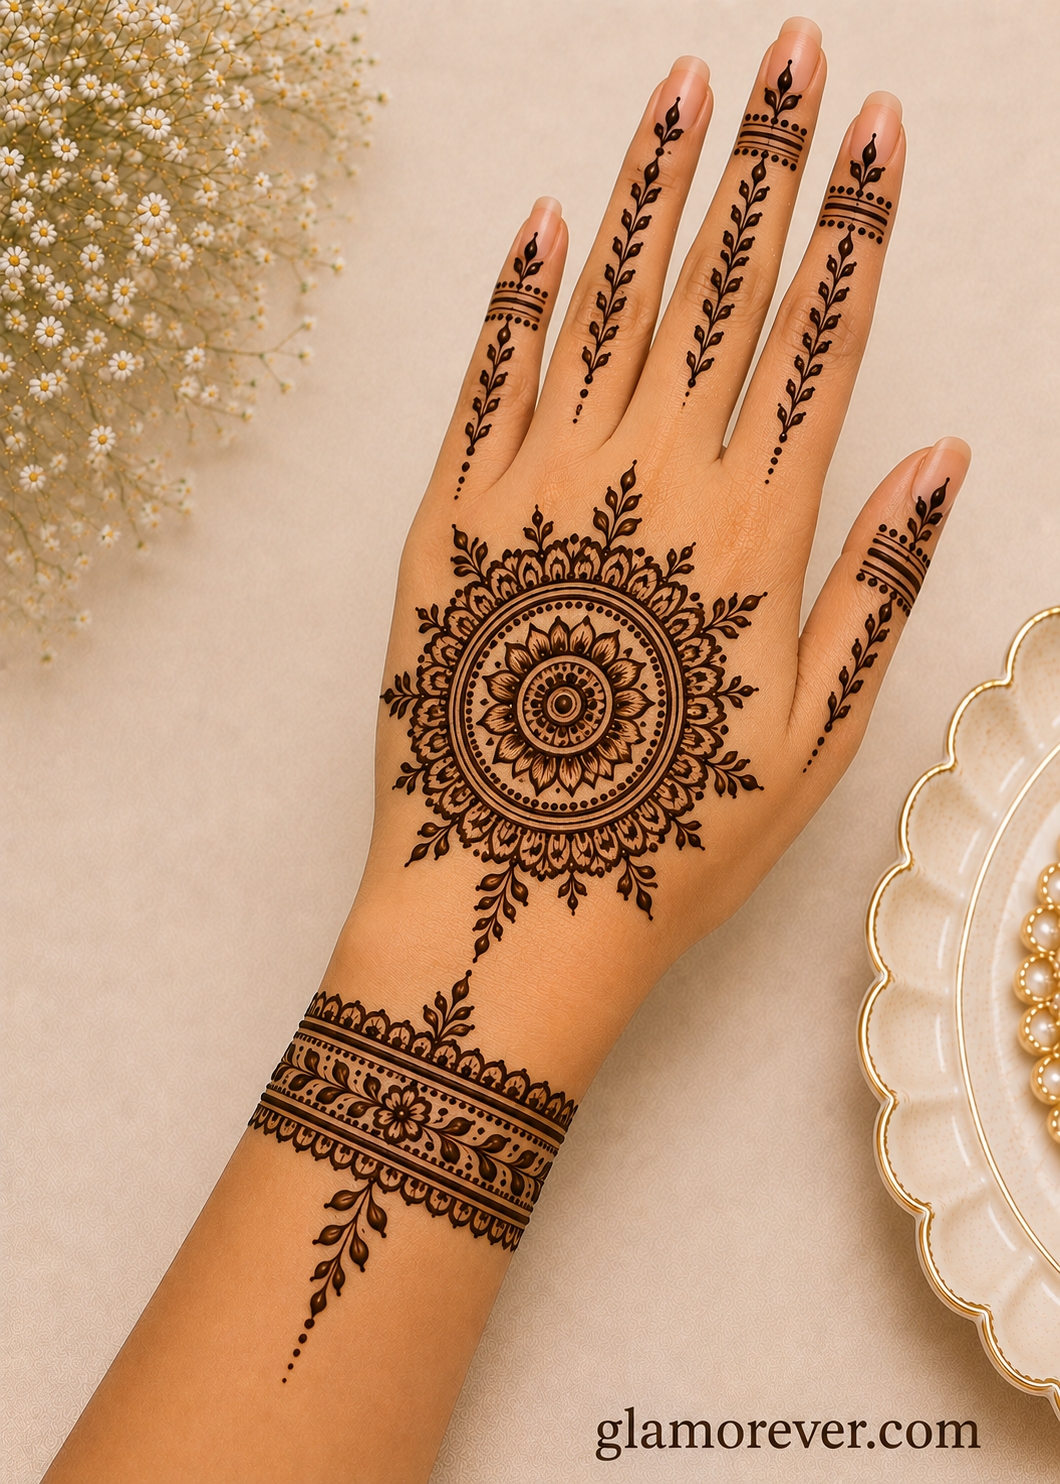
23. Circular Back-Hand Mandala
A round mandala on the back of the hand, framed by simple finger lines.
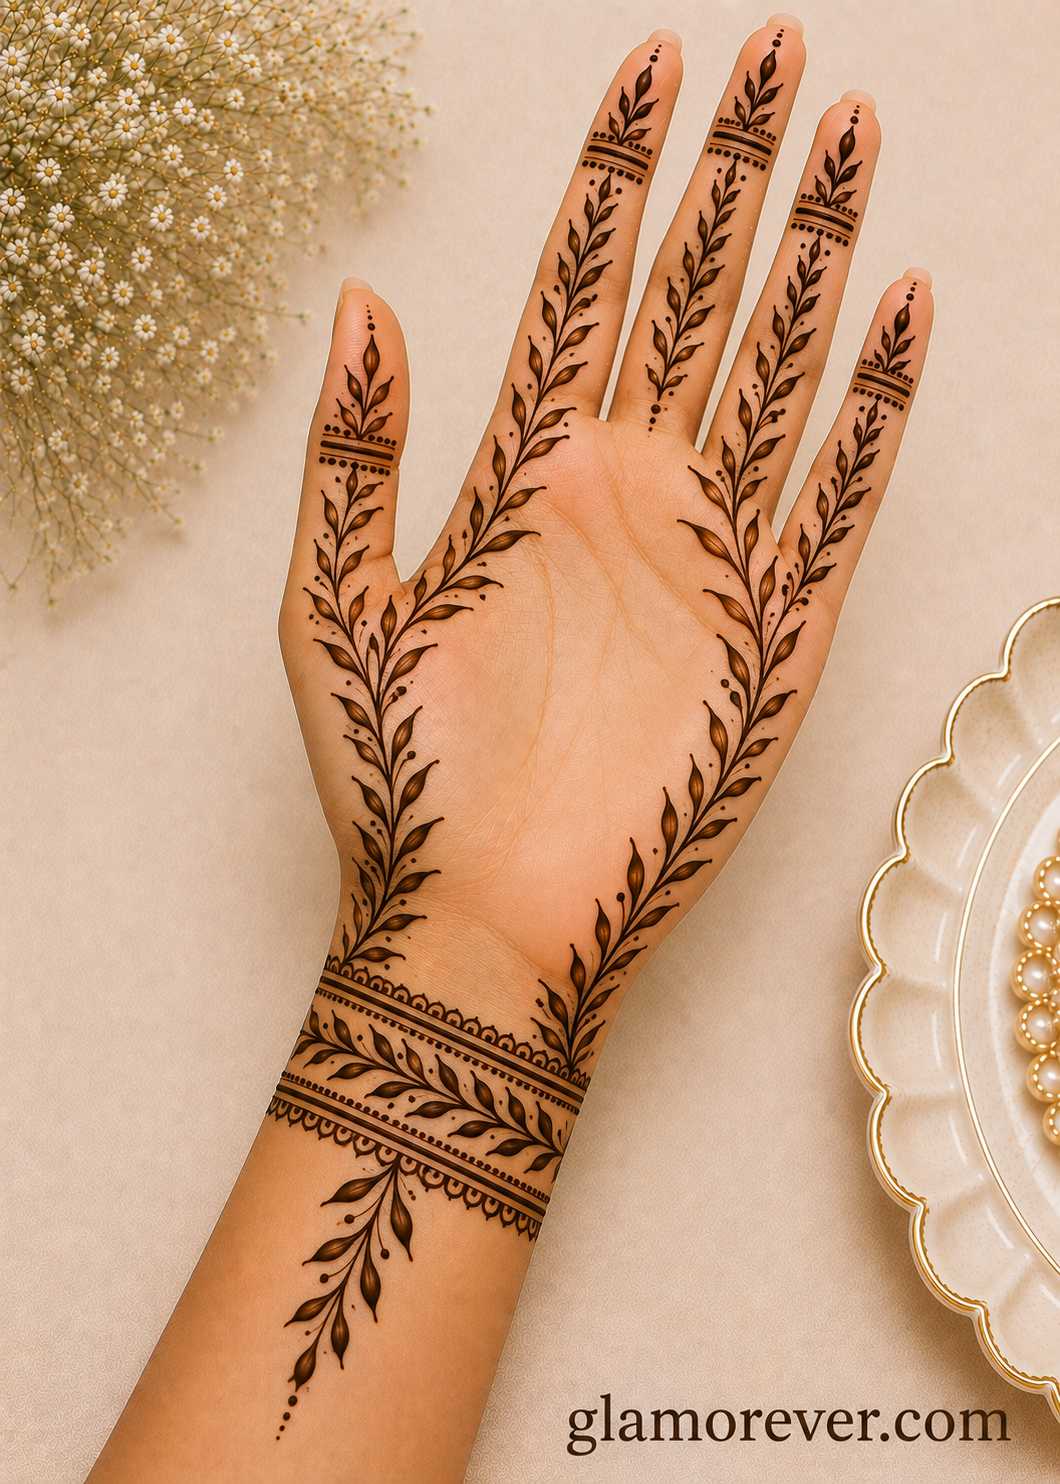
24. Bamboo Leaf Border
A row of bamboo-style leaves lining the edge of the hand — fresh and modern.
25. Personalised Initial Design
A minimal design incorporating your initial or your partner’s, hidden within the pattern.
Tools & Application Tips
Getting the right tools ready beforehand makes a huge difference to how smoothly your design turns out.
- Choose a good-quality cone. A fine-tipped, natural henna cone gives you far more control than a thick or low-quality one.
- Practice on paper first. Before applying to skin, trace your chosen design on paper a few times to build muscle memory.
- Hold the cone at a slight angle. This helps the paste flow evenly instead of clumping in one spot.
- Start from the center and work outward. This prevents smudging your completed lines with your hand.
- Keep a toothpick handy. It’s useful for cleaning up small mistakes before the paste dries completely.
🌟 Aftercare for a Dark, Long-Lasting Stain
Once your design is done, the aftercare matters just as much as the application. Follow these steps for the richest colour.
| Step | What to Do | Why It Helps |
|---|---|---|
| Drying Time | Leave the paste on for at least 4–6 hours | Longer contact deepens the stain |
| Lemon-Sugar Dab | Dab a lemon-sugar mix once the paste dries | Keeps the paste moist for better absorption |
| Avoid Water | Skip water contact for at least 12 hours after removing paste | Water too soon can lighten the final colour |
| Apply Natural Oil | Rub clove or mustard oil after scraping off dried paste | Enhances the reddish-brown tone |
| Avoid Soap | Use only water, no soap, for the first day | Soap can fade the stain prematurely |
Frequently Asked Questions
Q1: How long does mehndi take to dry?
It typically takes 20–30 minutes to dry to the touch, though it’s best left on for 4–6 hours, or even overnight, for the deepest stain.
Q2: Which design is easiest for a complete beginner?
Dotted flower fingertips or a simple wrist band design are great starting points since they involve minimal detailing and forgiving patterns.
Q3:How can I fix a mistake mid-design?
Use a clean toothpick or cotton bud to gently wipe away the wet paste before it dries, then reapply once the area is clean.
Q4: Can I make mehndi paste at home?
Yes, though it requires sieved henna powder, essential oils, and a resting period of several hours. For beginners, a ready-made cone is far more convenient.
Q5: How long does a mehndi stain typically last?
On average, a good stain lasts one to two weeks, gradually fading as the skin naturally exfoliates.
⚠️ Disclaimer
This article is intended for general informational purposes only. Always do a small patch test before applying henna to check for any skin sensitivity or allergic reaction. This post may contain affiliate links, meaning we may earn a small commission at no extra cost to you if you make a purchase through them. Thank you for supporting GlamorEver! 💛
Passionate software developer and entrepreneur dedicated to building innovative digital solutions. As the founder of glamorever.com, I combine technology, creativity, and business strategy to create valuable online experiences and resources for a global audience.